How to Stuff Amigurumi – Smooth, Firm Shapes With No Lumps
Good stuffing can make a simple toy look professional. Here is how much to use, when to add it and how to avoid lumps and show-through.
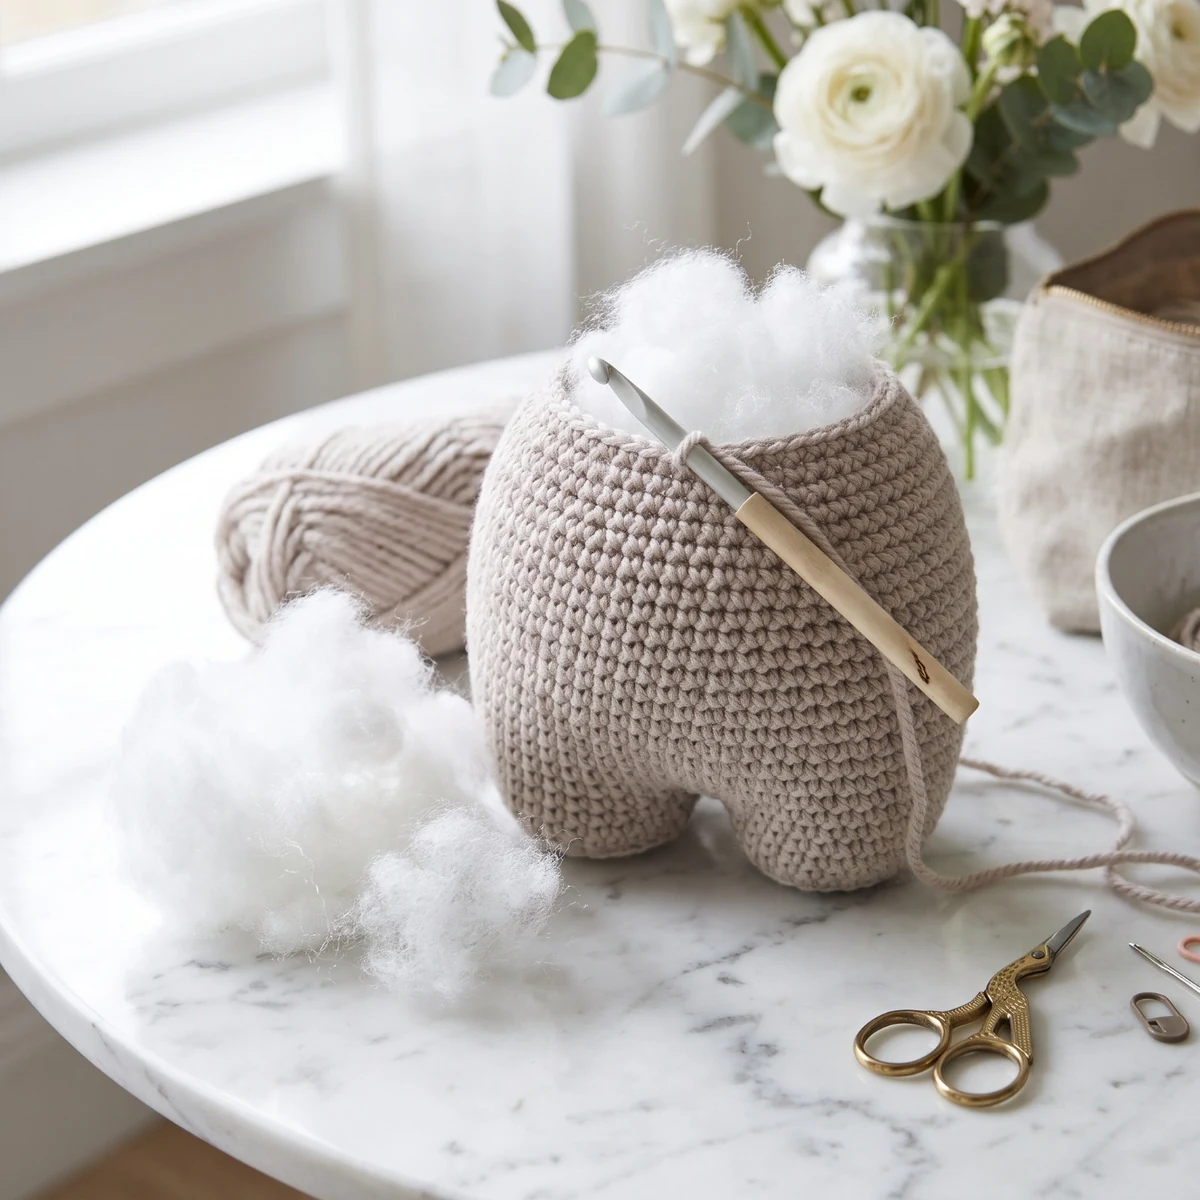
You can follow a pattern perfectly and still end up with a lumpy toy, because shape depends a lot on the stuffing. Learning how to stuff amigurumi well takes a little patience but no special skill, and it makes even simple pieces look much neater.
What to use
- Polyester fiberfill: the standard choice. It is light, inexpensive, holds its shape and can usually be washed.
- A stuffing tool: a chopstick, the end of a crochet hook or the blunt end of a pencil helps you reach small spaces.
- Yarn scraps: good for very small parts, as long as the color will not show through. They are firmer and heavier than fiberfill.
Fluff the fiberfill by pulling it apart before you use it. Fresh, loose fibers are less likely to clump.
When to start stuffing
Stuff as you go, and start before the opening gets too small to work with. Most patterns tell you when, usually during the decrease rounds. For example, the head in our Christmas spiral ornaments is stuffed once it is down to 18 stitches, with 2 more decrease rounds to go.
Before you stuff, make sure you have added anything that must be fixed from the inside, particularly safety eyes. It is difficult to reach them afterward.
How to stuff amigurumi, step by step
- Start small. Pull off a small tuft, roughly the size of a large grape, and push it right to the far end of the piece.
- Build it up. Keep adding small tufts, pressing each one against the last. Work from the outer edges toward the center.
- Shape as you go. Roll the piece between your palms now and then to spread the fiberfill evenly.
- Check for firmness. Give it a gentle squeeze. It should spring back and hold its shape.
- Top up. Add a last tuft just before you close the piece, as the opening shrinks.
How much stuffing is enough?
Most toys and heads should be stuffed firmly but not hard. Use these signs to judge:
- Too little: the piece looks saggy, wrinkled or flat, and it dents when you press it.
- Just right: the shape is smooth and rounded, and it springs back when squeezed.
- Too much: the stitches stretch apart and you can see white fiberfill between them.
Remember that fiberfill compresses over time, so it is better to use slightly more than you think. Some parts are the exception, though: patterns may ask you to stuff small pieces like muzzles or cones only lightly, so that they keep their shape.
How to fix common problems
- Lumps: pull out the stuffing and use smaller tufts. Massaging the piece between your palms also helps with small lumps.
- Stuffing shows through: the stitches are too loose or the piece is overstuffed. Remove a little, and next time use a smaller hook. See our crochet hook size chart.
- Pointed or uneven ends: use a chopstick to push the fiberfill right into the tip.
- Heads that droop: stuff the neck firmly and sew it in several passes. On our spiral ornaments, two extra sewing passes from the back of the head into the top curl help keep it upright.
How to close the last stitches
When you have about 6 stitches left, top up the stuffing and fasten off, leaving a long tail. Then:
- Thread the tail onto a yarn needle.
- Work through the front loop of each remaining stitch, all the way around.
- Pull the tail gently to close the hole, like a drawstring.
- Push the needle through the center and out the other side, then trim the tail so it disappears inside.
Neat decreases help here as well. See our guide to the invisible decrease.
Frequently asked questions
Can I wash stuffed amigurumi?
It depends on your yarn and filling. Hand washing and air drying is the gentlest option for most toys. Check the labels on your yarn and fiberfill first.
Can I use cotton balls or fabric scraps?
They are not ideal. Cotton balls can compact into hard lumps, and fabric scraps make a heavy, uneven filling. Polyester fiberfill gives a better result.
Is it safe for babies?
Toys for babies and young children need extra care. Use embroidered details rather than small parts, sew everything very securely and check all seams regularly.
Where can I practice?
A simple round ball is ideal. Try the free pattern in our guide on how to crochet a Christmas ornament.
Mini Crochet Snowman Pattern – Amigurumi with 18 Hats – Digital crochet pattern (PDF)