How to Attach Safety Eyes to Amigurumi – With Placement Tips
Safety eyes are almost impossible to move once they are locked, so placement matters. Here is how to get them right the first time.
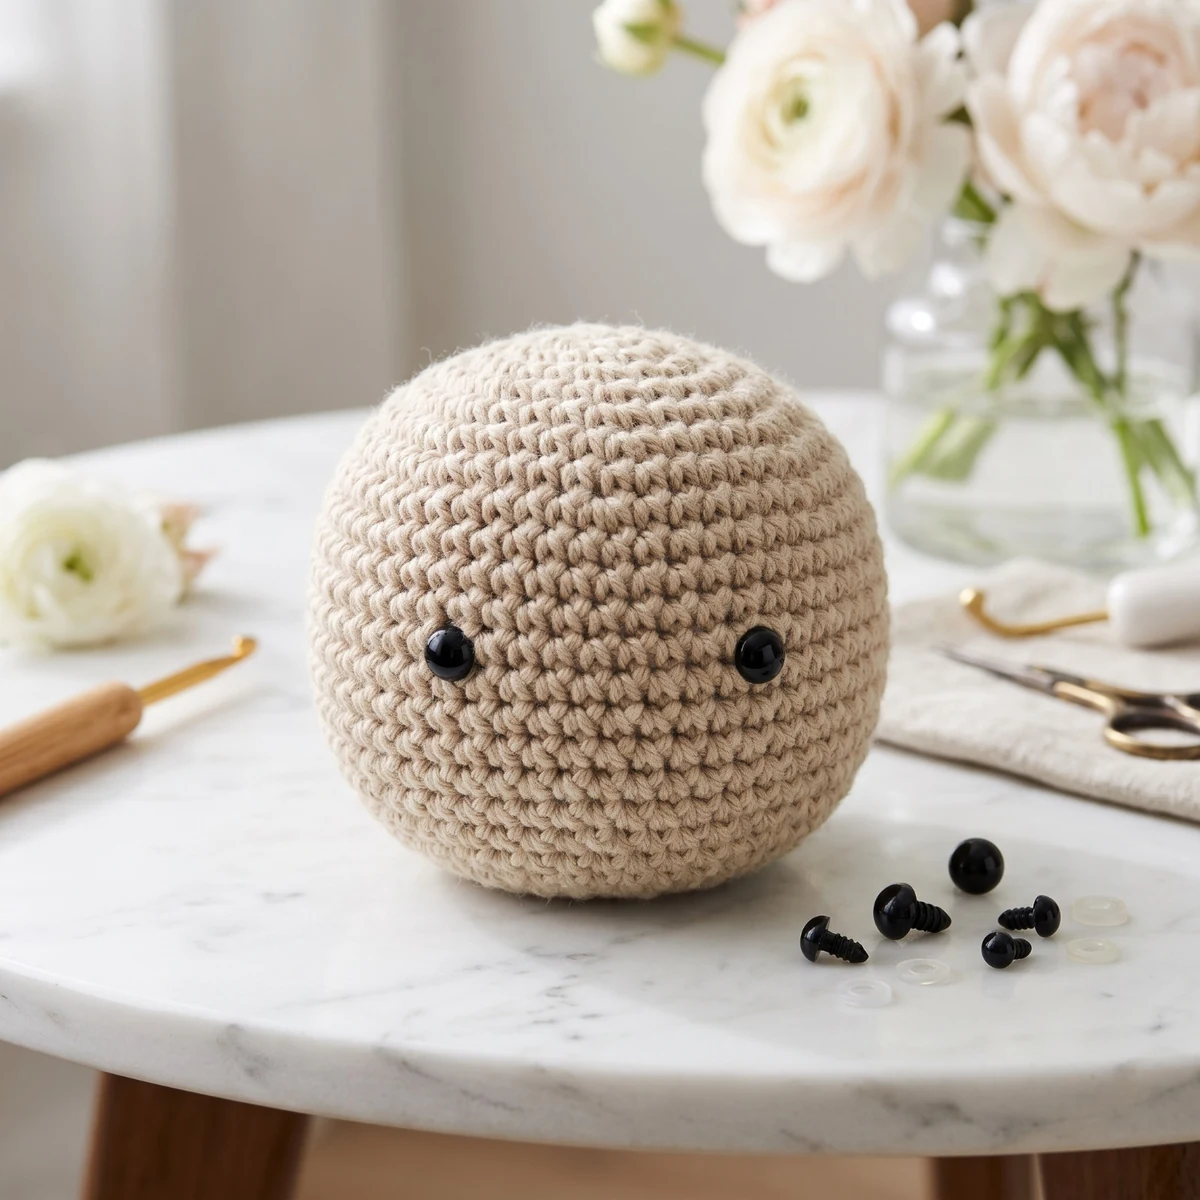
Eyes give an amigurumi its personality, and small changes in position can make a big difference to the expression. This guide explains how to attach safety eyes so they are straight and secure. It is worth taking your time here, because most safety eyes are very hard to remove once the washer is on.
What are safety eyes?
Safety eyes are plastic eyes made of two parts: the eye, with a post at the back, and a washer that locks onto that post from inside your work. They look neat and are quick to fit.
Despite the name, they are not automatically safe for every child. See the safety section below before making a toy for someone young.
When to attach them
Attach the eyes after you have worked past the point where they go, but before you stuff the piece and close it. Once the opening is small, you can no longer reach the inside to fit the washers.
For example, the head in our Christmas spiral ornaments is stuffed at Round 11, so the eyes need to go in before that.
What size to use
Follow your pattern where you can. If there is no size given, match the eyes to your piece. Our spiral ornament heads, which are 30 stitches around at the widest point, use 6-8 mm eyes. Larger eyes tend to look cuter and more childlike, while smaller eyes look more delicate.
How to attach safety eyes, step by step
- Mark the position. Use stitch markers or pins to mark each spot. Your pattern may give specific rounds. On our spiral heads, the eyes go between Rounds 7 and 8, about 6 stitches apart.
- Check the expression. Hold the piece up, and adjust until you like it. Stuffing changes the shape, so you can add a small tuft of fiberfill while you decide.
- Insert the eye. Push the post through a gap between stitches from the outside. Do not force it through the yarn itself.
- Repeat on the other side. Count the stitches between the two posts, and count the rounds above and below them, to check they are level.
- Check again from the front. This is your last easy chance to move them. Take a photo if it helps, since a photo often shows unevenness that you might otherwise miss.
- Add the washers. Remove any fiberfill. From inside the piece, slide a washer onto each post and press it down firmly until it locks against the fabric. Many washers have a flatter side, which usually goes toward the fabric. Check the packaging, since styles differ.
- Test them. Gently tug each eye from the front. It should not move.
Eye placement tips
- Wider apart looks cute and babyish.
- Closer together looks more serious or surprised.
- Lower on the face usually looks younger and sweeter.
- Higher on the face usually looks more grown-up.
Line up any nose, muzzle or mouth with the eyes before you fix everything. Pinning all the facial pieces at once lets you judge the whole expression.
When to embroider instead
Embroider the eyes with black yarn or thread if the toy is for a baby or young child, or if it will hang somewhere that a child or pet could reach. Small parts can be a choking hazard if they ever come loose. This is why we suggest embroidered eyes on ornaments that will be used around small children or pets.
To embroider a simple eye, sew a few short stitches on top of each other across one or two stitches of the crochet. For a larger eye, sew several in a small oval. Secure the ends inside the piece.
If you plan to sell toys, check the toy safety rules in your country, since requirements can be strict.
Common problems and fixes
- Eyes are uneven: count the stitches between the markers before you lock the washers.
- The eye sinks into the fabric: the gap is too large, or the stitches are loose. Try a smaller hook on your next piece.
- The eye wobbles: the washer may not be fully pushed on. Press it down harder until it sits snugly.
- A washer was put on by mistake: it may not come off without damage. It is often quicker to crochet a new piece than to try to remove it.
Frequently asked questions
Can I add safety eyes after stuffing?
Only if you can still reach the inside to fit the washer. Otherwise, remove the fiberfill first, or embroider the eyes instead.
Can I glue safety eyes on?
It is best not to rely on glue alone. The washer is what holds the eye in place. Use it as intended, or embroider.
What should I learn next?
Now that you have the eyes in, see how to stuff amigurumi to finish the shape, and the invisible decrease to close it neatly.
Crochet Christmas Ornament Set – 10 Amigurumi Patterns – Digital crochet pattern (PDF)