How to Crochet a Christmas Ornament: Easy Beginner Guide with a Free Pattern
A beginner-friendly, step-by-step guide to your first amigurumi Christmas ornament, with a free round ornament pattern you can turn into a bauble, a snowman or a pudding.
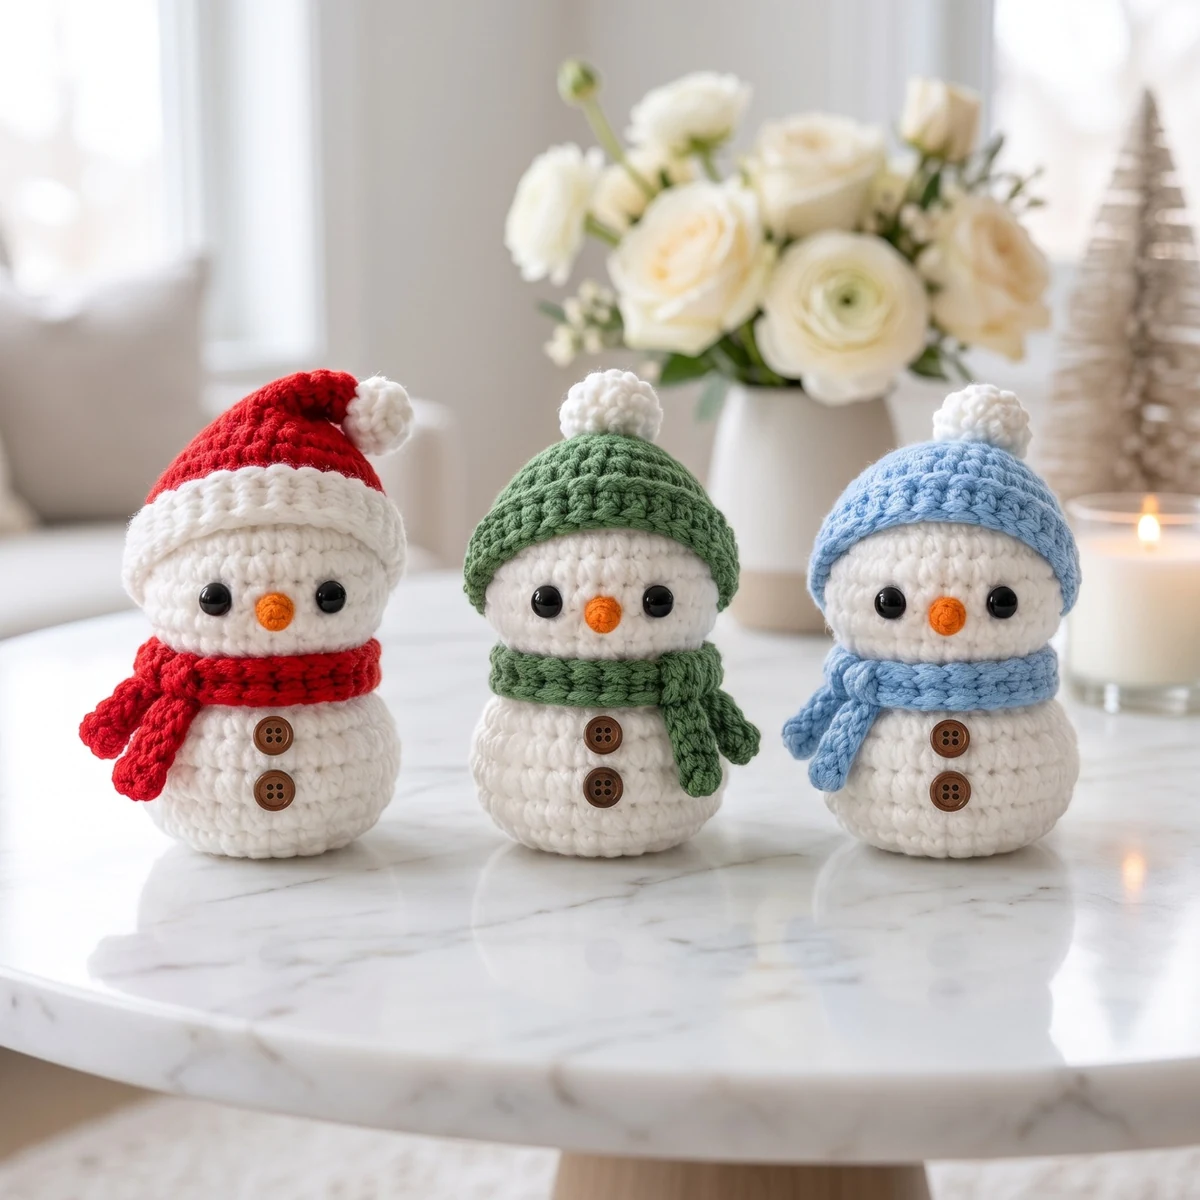
Quick answer: to crochet a Christmas ornament, start a magic ring, work 6 single crochet into it, then increase by 6 stitches every round until the piece is as wide as you want. Work a few plain rounds, decrease the same way, stuff it, close the top and pull a hanging loop through the centre. With DK cotton and a 2.5 mm hook, that gives a round ornament about 5 cm (2 in) across in roughly an hour.
This guide walks you through every step, then gives you a free round ornament pattern you can decorate as a bauble, a snowman head or a Christmas pudding. When you are ready for characters, the same skills carry straight into amigurumi Christmas ornament patterns.
What you need
- Yarn: DK (light worsted) cotton or milk cotton. Cotton keeps crisp stitch definition and does not fuzz. Choose a light colour for your first try so you can see the stitches.
- Hook: 2.5 mm (B/C). Amigurumi uses a smaller hook than the yarn label suggests, so the fabric is tight and the stuffing stays hidden.
- Stuffing: polyester fibrefill, a handful per ornament.
- Stitch marker: amigurumi is worked in a spiral, so a marker in the first stitch of each round is essential.
- Yarn needle and scissors.
- For the hanging loop: a 20 cm (8 in) piece of yarn, thin ribbon or baker's twine.
- Optional: safety eyes (6-8 mm) or black yarn to embroider eyes.
The 5 stitches and techniques you need
You only need a handful of skills. All the abbreviations are explained in how to read a crochet pattern.
- Magic ring (MR): an adjustable loop you crochet into and then pull closed, so the centre has no hole.
- Single crochet (sc): the main amigurumi stitch.
- Increase (inc): 2 sc in the same stitch. It adds one stitch.
- Decrease (dec): crochet 2 stitches together. For amigurumi, use the invisible decrease: insert the hook into the front loop only of the next 2 stitches, yarn over, pull through both front loops, then yarn over and pull through the 2 loops on the hook.
- Slip stitch (sl st) and fasten off (FO): to finish neatly.
Step by step: how the ornament comes together
Step 1: start with a magic ring
Wrap the yarn around two fingers, insert the hook, pull up a loop and chain 1. Work 6 sc into the ring and pull the tail to close it. Place your marker in the first stitch.
Step 2: increase to the size you want
Each increase round adds 6 stitches: round 2 has 12 stitches, round 3 has 18, round 4 has 24. The flat circle grows by about 1 cm in diameter per increase round with DK yarn and a 2.5 mm hook. Count at the end of every round: it is the single best habit for a perfectly round result.
Step 3: work straight rounds
Single crochet in every stitch without increasing. The circle turns into a cup, then a ball. The more straight rounds you work, the taller the shape.
Step 4: decrease and stuff
Decrease 6 stitches per round, mirroring your increases. Stuff when the opening is about the size of a coin: firmly enough that the shape is smooth, but not so much that the stitches stretch apart.
Step 5: close the top and add the hanging loop
When 6 stitches remain, fasten off with a long tail, weave it through the front loops of the last 6 stitches and pull tight. Thread your hanging loop through the very centre of the top and knot it inside the ornament. A loop exactly in the middle makes the ornament hang straight.
Free pattern: round crochet Christmas ornament
- Size: about 5 cm (2 in) across
- Yarn: DK cotton, about 8 g
- Hook: 2.5 mm (B/C)
- Time: about 1 hour
- Terms: US crochet terms; numbers in brackets are the stitch count at the end of the round
- Rnd 1: 6 sc in a magic ring (6)
- Rnd 2: inc in each st around (12)
- Rnd 3: [sc, inc] x6 (18)
- Rnd 4: [2 sc, inc] x6 (24)
- Rnd 5-9: sc in each st around (24)
- Rnd 10: [2 sc, dec] x6 (18)
- Rnd 11: [sc, dec] x6 (12). Stuff firmly now.
- Rnd 12: dec x6 (6)
Fasten off, close the hole with the tail and add the hanging loop at the top.
Three ways to decorate it
- Classic bauble: work rounds 1-4 in one colour and rounds 5-12 in another, or change colour every two rounds for stripes. Add a small "cap" by working 2 rounds of sc in grey or gold around the top.
- Snowman head: white yarn, a small orange cone for the nose (3 sc in a magic ring, then 2 rounds of 3 sc), black French knots for the eyes and mouth, and a scarf made of a long chain.
- Christmas pudding: brown body, then a wavy white "icing" round sewn across the top and two little green leaves with a red French-knot berry.
From a ball to a character
Every amigurumi character is just a few of these shapes joined together: a ball for the head, a slightly longer ball for the body, small tubes for arms and legs. Once you can make the ornament above, you can make all of these:
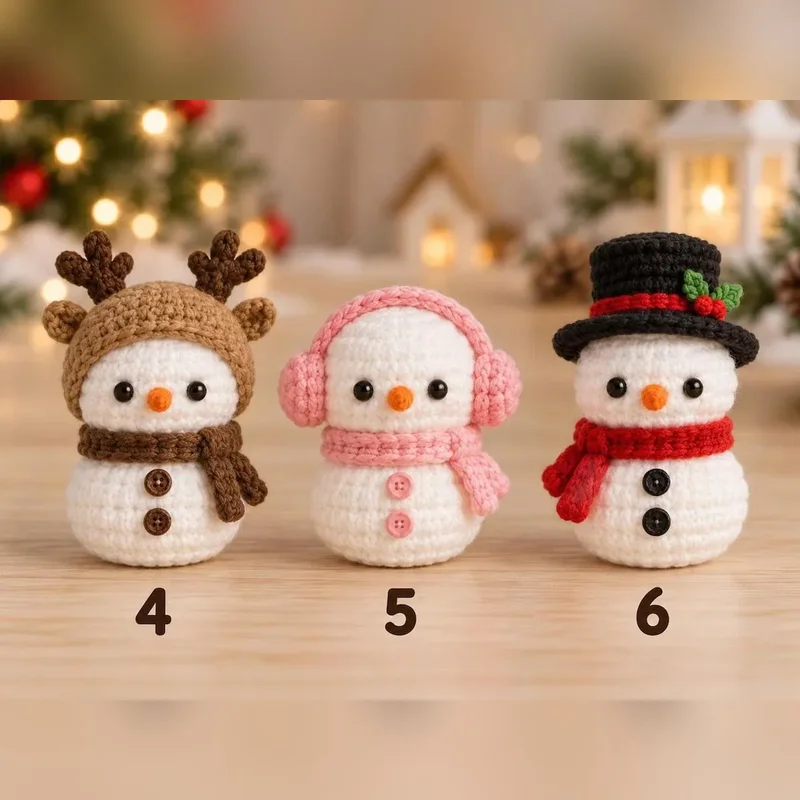
- The easiest next step is a snowman worked in one piece from the bottom up, with a flat base so it stands. The mini crochet snowman pattern is 7.5 cm (3 in) tall and takes 2-3 hours, with 18 hats and hoods to choose from.
- For chunky, fast results, the Christmas car charm pattern uses one round body in chenille yarn and finishes in 1-2 hours per character.
- For a full tree, the Christmas ornament set has 10 characters, six of which share the same head, body and arms.
- For something lacy instead of stuffed, try the free crochet Christmas bell ornament.
Try a spiral ornament next
Once you can make a stuffed ball, you can make a head, and that opens up a lot of characters. Our free Christmas spiral ornament patterns sit a head like this on a curling corkscrew. If any of the techniques feel new, these guides can help: how to crochet a magic ring, the invisible decrease and how to crochet a spiral.
Common beginner problems (and fixes)
- The stuffing shows through. Your tension is loose: go down half a hook size, or crochet a little tighter.
- The ball looks like a hexagon. That happens when increases stack in the same place every round. Stagger them: in round 4, work [sc, inc, sc] instead of [2 sc, inc].
- You lost count. Move the stitch marker up at the start of every round and count before you start the next one.
- There is a hole at the top. Weave the tail through the front loops only, then pull firmly before you weave it in.
- The ornament hangs crooked. Re-thread the loop through the exact centre of the last round.
Frequently asked questions
Can a complete beginner crochet a Christmas ornament?
Yes. A round ornament uses only a magic ring, single crochet, increases and decreases. Most beginners finish their first one in an evening; the second one is much faster.
What size hook should I use for crochet ornaments?
For DK cotton, use a 2.5 mm hook. For worsted (#4) yarn, a 3.0-3.5 mm hook. Always go smaller than the yarn label recommends so the stuffing does not show.
Do I need safety eyes for Christmas ornaments?
No. Embroidered eyes with black yarn look neat and are safer for ornaments within reach of small children and pets.
How do you make a crochet ornament hang straight?
Put the hanging loop in the exact centre of the top round and stuff evenly. If a hat or wings make one side heavier, shift the loop slightly towards the heavy side.
How long does a crochet Christmas ornament take?
About 1 hour for a simple ball, 2-3 hours for a small snowman and 3-4 hours for a detailed character with arms, a hat and a face.
Mini Crochet Snowman Pattern – Amigurumi with 18 Hats – Digital crochet pattern (PDF)