Easy Crochet Christmas Bell Ornament – Free Lace Pattern
A simple crochet Christmas bell ornament with lace clusters, a flared scalloped hem and a wooden-bead clapper. Free pattern, done in an evening.
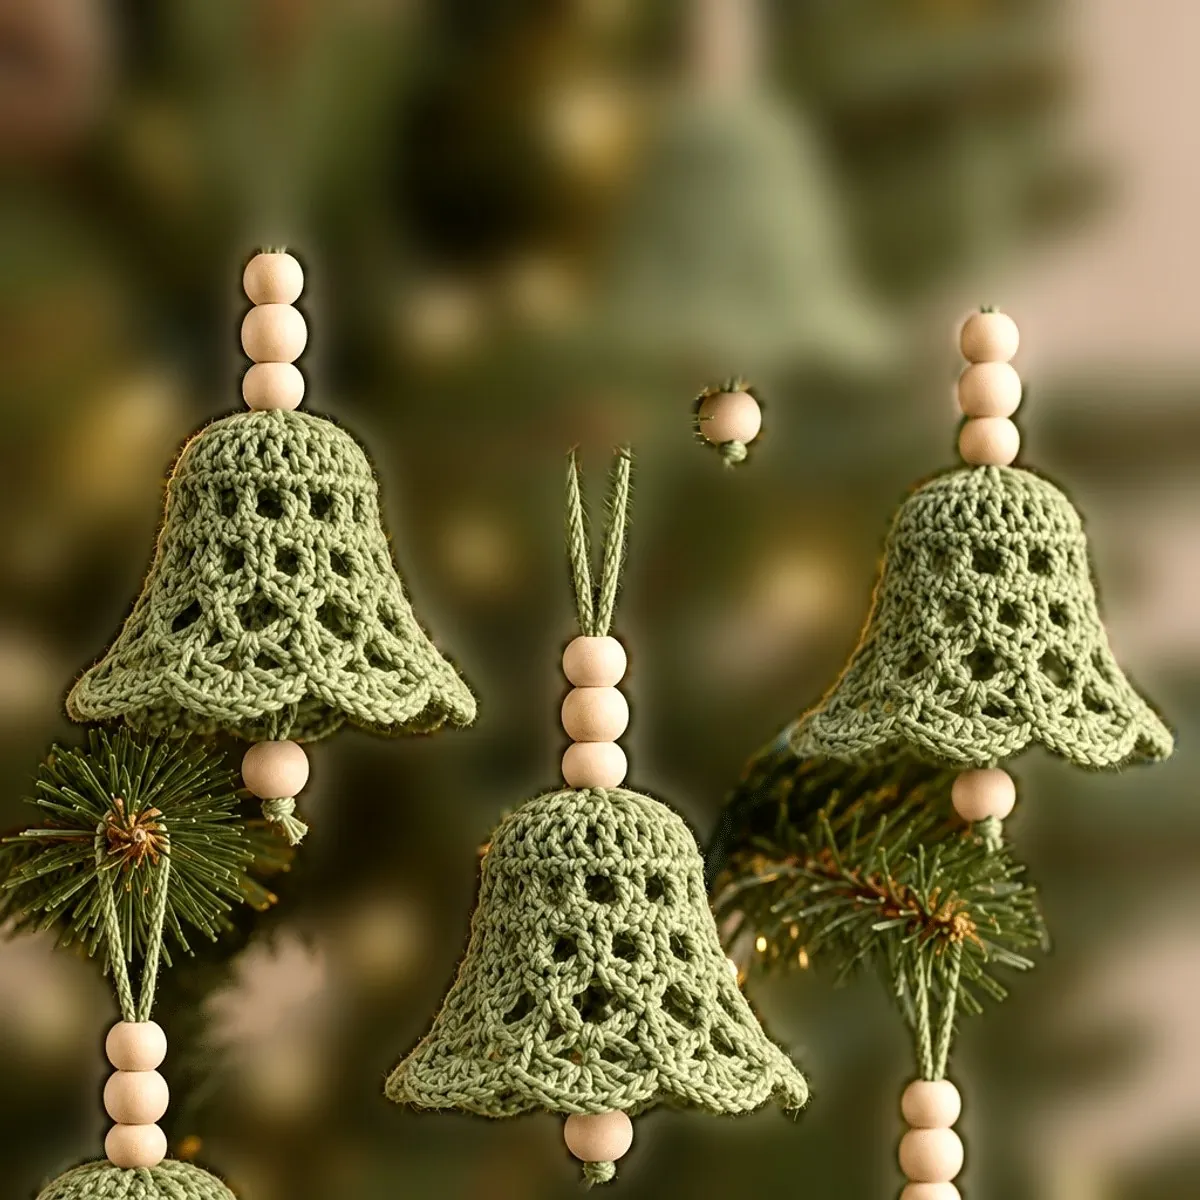
Ring in the season with a bell you made yourself. This free crochet Christmas bell ornament pattern makes a lacy sage green bell with a solid domed crown, an openwork band, lace clusters that flare into a scalloped hem, and a wooden bead that swings inside as a clapper. It is one of the most simple crochet Christmas ornaments to start with: about 50 yards of yarn and one evening, so you can make a whole set for your tree or for gift toppers.
Everything you need is below. Prefer paper? The free printable PDF is linked above and at the end.
Pattern at a glance
- Skill level: Beginner
- Time: 1-2 hours
- Finished size: about 5 cm (2 in) crown height, with a flared lace skirt
- Hook: 3.0 mm (D)
- Terms: US crochet terms
Materials
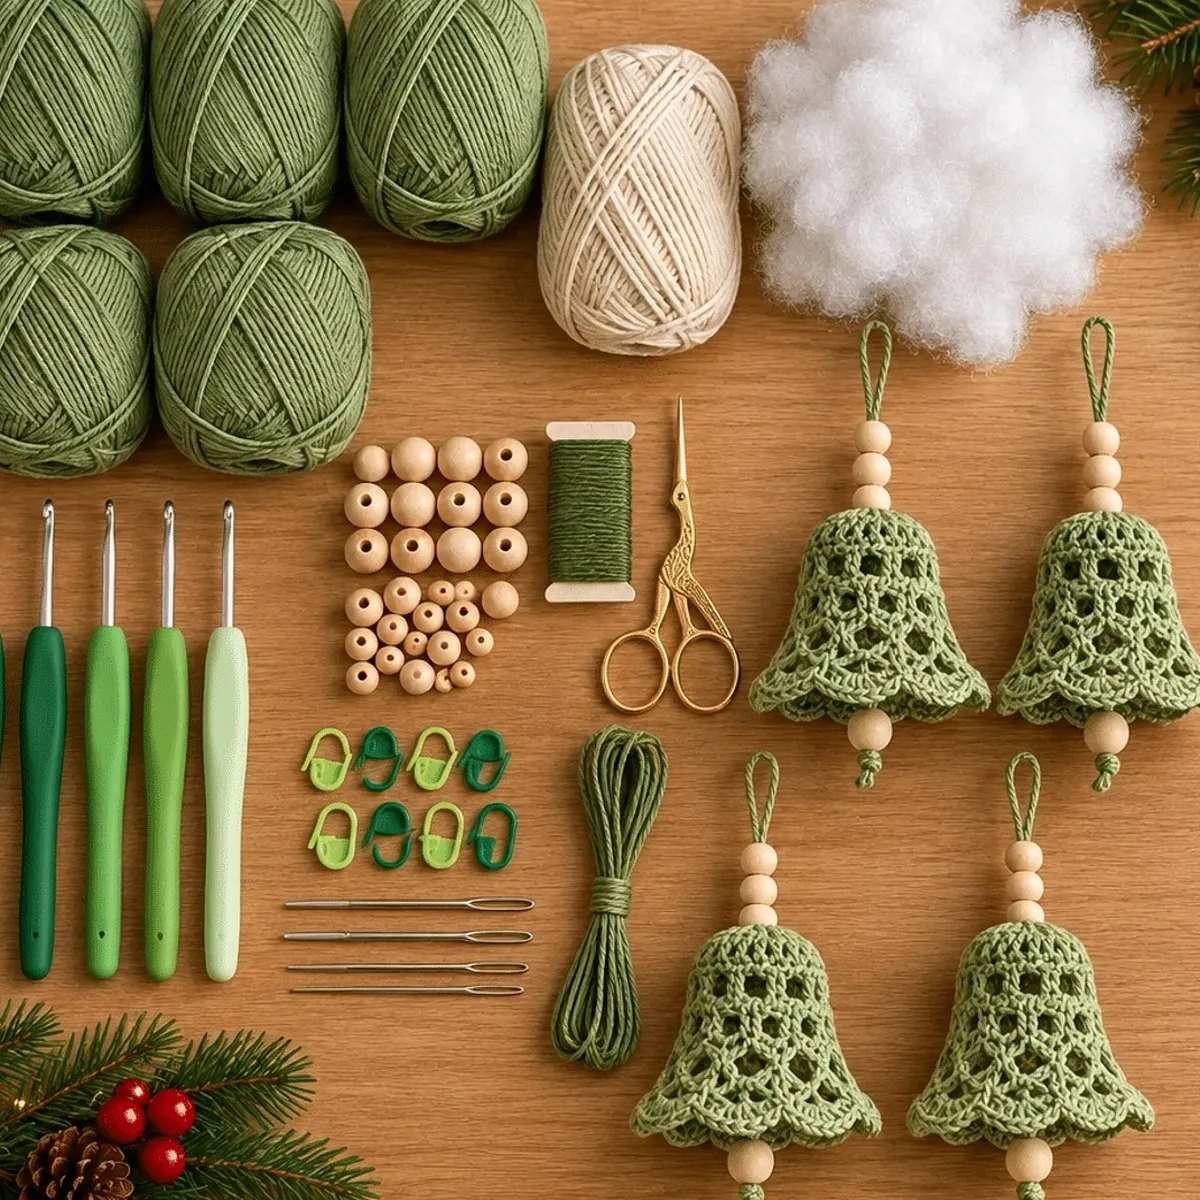
- Worsted weight cotton/acrylic blend in muted sage green, about 50 yd
- 3.0 mm (D) crochet hook
- Yarn needle and scissors
- 4 natural wooden beads
- Cotton cord: about 30 cm (12 in) for the hanger and 13 cm (5 in) for the clapper
Gauge
About 32 dc x 16 rows = 10 x 10 cm (4 x 4 in). For a larger bell, add stitches to the crown in multiples of 4 or add extra upper-body rounds. If your swatch is small, go up one hook size.
Step 1: Bell crown (Rounds 1-2)
- Round 1: Make a magic ring. Ch 1 and work 8 sc into the ring. Pull the ring tight and join to the first sc. [8 sc]
- Round 2: Ch 1, 2 sc in every stitch around, join. The crown begins to dome. [16 sc]
Step 2: Upper body (Rounds 3-5)
- Round 3: Ch 3 (counts as the first dc), 1 dc in the same stitch, then 2 dc in each remaining stitch. Join. [32 dc]
- Round 4: Ch 3, dc in each remaining stitch around. Join. [32 dc]
- Round 5: Repeat Round 4. The bell now stands about 5 cm (2 in) tall. [32 dc]
Step 3: Openwork and first lace (Rounds 6-7)
- Round 6: Ch 3, ch 1, skip the next stitch. *Dc in the next stitch, ch 1, skip 1.* Repeat from * around and join to the top of the starting ch-3. [16 dc, 16 ch-1 spaces]
- Round 7: Sl st into the first ch-1 space. Ch 3 and work 2 dc in the same space, ch 1, skip the next ch-1 space. *3 dc in the next ch-1 space, ch 1, skip the next ch-1 space.* Repeat around and join. [8 groups of 3 dc, 8 ch-1 spaces]
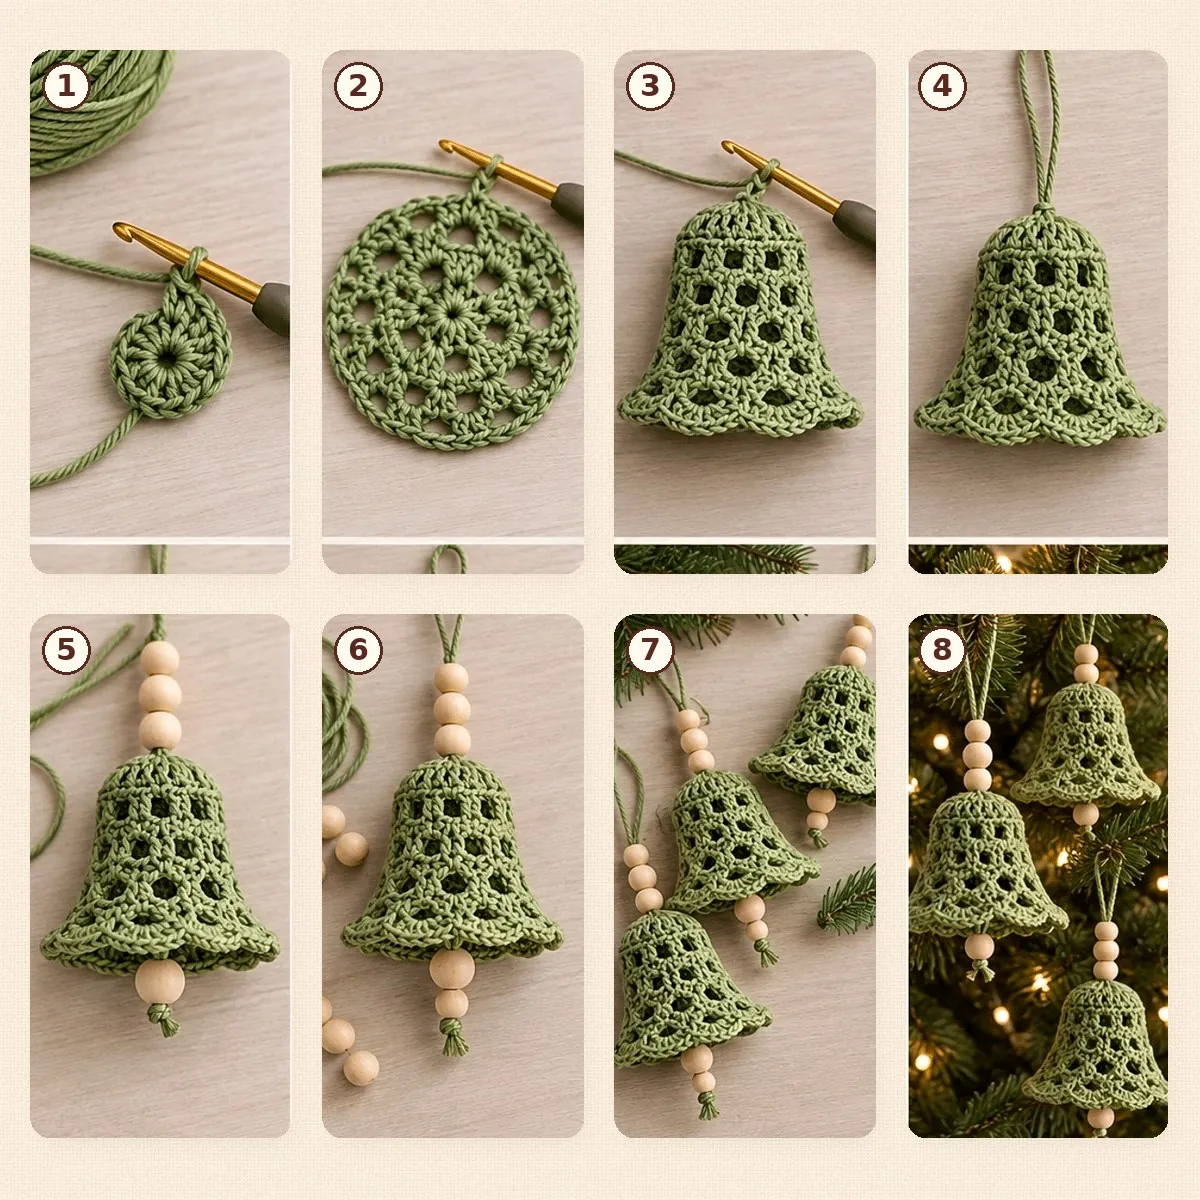
Step 4: Flare the lace (Rounds 8-10)
Each round adds more stitches per cluster, and that is what gives the bell its flare.
- Round 8: Sl st across to the first ch-1 space. Ch 3, dc in the same space, ch 2. *3 dc in the next ch-1 space, ch 2.* Repeat around and join. [8 groups of 3 dc, 8 ch-2 spaces]
- Round 9: Sl st across to the first ch-2 space. Ch 3, dc in the same space, ch 2. *4 dc in the next ch-2 space, ch 2.* Repeat around and join. [8 groups of 4 dc, 8 ch-2 spaces]
- Round 10: Sl st across to the first ch-2 space. Ch 3, dc in the same space, ch 1. *6 dc in the next ch-2 space, ch 1.* Repeat around and join. [8 groups of 6 dc, 8 ch-1 spaces]
Step 5: Shells and scalloped edge (Rounds 11-12)
- Round 11: Sl st into the next dc. Ch 1, sc in the same stitch, ch 3, skip 2 dc, sc in the next dc, ch 3. *Sc in the 2nd dc of the next 6-dc group, ch 3, skip 2 dc, sc in the next dc, ch 3.* Repeat around and join to the first sc. [16 sc, 16 ch-3 spaces]
- Round 12: Sl st into the first ch-3 space. Ch 1 and work (sc, 3 dc, sc) in that space, sl st in the next sc. *Work (sc, 5 tr, sc) in the next ch-3 space, sl st in the next sc, then (sc, 3 dc, sc) in the following ch-3 space, sl st in the next sc.* Repeat this two-arch sequence around and join. [8 large and 8 small scallops]
Step 6: Hanger, beads and clapper
- Hanging cord: cut about 30 cm (12 in) of cotton cord. Fold it in half and pass the folded end up through the center of the crown. Knot the loose ends firmly inside the bell.
- Beads: thread three wooden beads onto the doubled cord above the crown, then tie the top into a secure hanging loop.
- Clapper: cut a separate 13 cm (5 in) piece of cord. Thread one bead onto one end and knot below it. Tie the other end inside the crown so the bead swings freely.
- Shape: spread the scalloped hem by hand, check that the bell hangs straight and the clapper moves freely, and adjust the loop length for your tree.
Step 7: Block the bell
Weave in all ends. Lightly dampen the crochet (not the beads), shape it over a small rounded form and let it dry completely. Remove the form and gently open the lace.
Care
Hand wash in cool water with a gentle detergent; swirl, never wring. Lay flat to dry and reshape the flare. Store in a breathable cotton bag away from sunlight.
Make it yours
- DK yarn for a daintier bell
- Burgundy or snowy white colorways
- Painted or glitter beads on the hanger
- A mini pom-pom on top of the cord
Make it a quick Christmas gift
These bells are perfect quick crochet Christmas gifts: tie one to a present as a gift topper, hang a set of three on a wreath, or make them in burgundy and white for a classic look. They also sell well at Christmas craft markets, because each one takes about an hour.
Frequently asked questions
Is this bell pattern good for beginners?
Yes. It uses only sc, dc, tr, chains and slip stitches, and every round ends with a stitch count so you always know you are on track.
How do I make the bell stiff?
Blocking over a rounded form is usually enough. For a firmer bell, dip it in a mix of equal parts school glue and water before drying it on the form.
Download the free printable PDF: Crochet Christmas Bell Ornament – Free Lace Pattern