Amigurumi for Beginners: Everything You Need for Your First Crochet Toy
Amigurumi looks harder than it is. Almost every toy uses the same handful of techniques, and a small ball teaches you all of them in an hour.
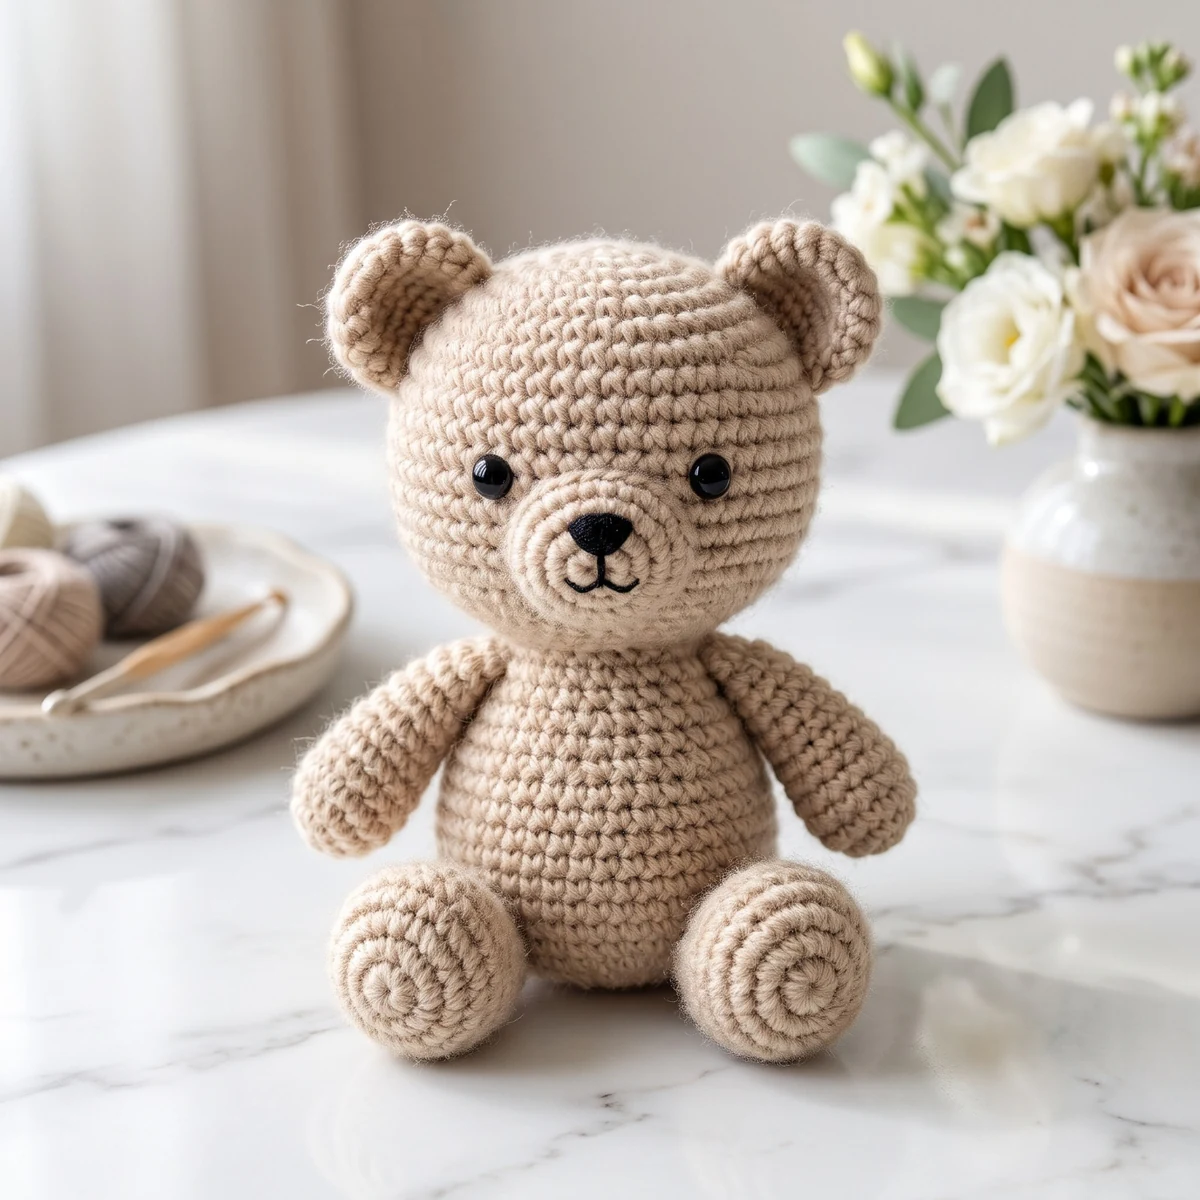
Amigurumi is the Japanese art of making small stuffed toys, usually in crochet. A finished bear looks complicated, but it's a set of balls and tubes sewn together. Almost every toy uses the same small group of techniques, so once you've made one shape, you're most of the way there.
The instructions here use US terms. In UK terms, sc is a double crochet.
What to buy
- Yarn: a smooth cotton or acrylic in DK or worsted weight. Avoid fluffy yarn for now, because you can't see the stitches. Our guide to the best yarn for amigurumi has more detail.
- Hook: one smaller than the label suggests. A 3 mm hook is a good start for DK.
- Fiberfill: polyester stuffing from any craft shop.
- Stitch marker: you need it for working in spirals.
- Tapestry needle and scissors
- Safety eyes: optional. Embroider the eyes instead for children under three.
The five techniques that matter
- The magic ring. It closes the top of each piece without a hole.
- Single crochet. Nearly all amigurumi uses this one stitch.
- Working in a spiral. You don't join rounds. You keep going and mark the first stitch of each round.
- Increasing and decreasing. An increase is 2 sc in one stitch. A decrease joins 2 stitches into 1. These two moves create every shape.
- Stuffing. Use lots of small pieces, and stuff more firmly than you expect.
Your first project: a small ball
A ball uses all five techniques, and it takes about an hour. Abbreviations: MR = magic ring, sc = single crochet, inc = 2 sc in one stitch, dec = decrease. Numbers in parentheses show the stitch count.
- Round 1: 6 sc in MR (6)
- Round 2: inc in each st (12)
- Round 3: [sc, inc] 6 times (18)
- Round 4: [2 sc, inc] 6 times (24)
- Rounds 5 to 8: sc in each st (24)
- Round 9: [2 sc, dec] 6 times (18)
- Round 10: [sc, dec] 6 times (12)
Stuff the ball firmly now, while the opening is big enough.
- Round 11: dec 6 times (6)
Fasten off, leaving a tail. Thread the tail through the front loops of the last 6 stitches, pull it tight and hide the end inside the ball.
Look at what you've made. Add ears and it's a bear's head. Make a slightly longer one and you have a body. Stop at Round 4 and you have a flat circle for a base.
Five beginner mistakes to avoid
- Visible stuffing: your stitches are too loose. Go down a hook size.
- Losing your place: move the marker up at the start of every round, and count at the end of each.
- Lumpy shapes: use small bits of stuffing, and roll the piece between your hands.
- Holes where you decrease: try the invisible decrease.
- Starting too big: finish a small piece first, before you try a toy with lots of parts.
Safety for small children
Toys for children under three need extra care. Embroider the eyes rather than using plastic ones, sew each part on firmly, and pull hard on everything once you've finished. For more detail, see how to attach safety eyes.
What to make next
Try a small project with a few shapes, such as our Christmas ornaments for beginners. They use the same techniques, and they're small enough to finish in an evening.
Frequently asked questions
Is amigurumi hard for beginners?
If you can make a chain and a single crochet, you can make a simple shape. The fiddly part is the first few rounds, while the piece is still tiny.
How long does a small toy take?
A simple toy of about 10 cm (4 in) can take a beginner a couple of evenings, including sewing the parts together.
Why do my stitches look slanted?
That's normal for a spiral worked in single crochet. It's most noticeable on stripes, and it isn't a mistake.
Crochet Christmas Ornament Set – 10 Amigurumi Patterns – Digital crochet pattern (PDF)