Easy Crochet Snowflake Pattern and How to Stiffen It
One magic ring and six arms make a snowflake in a few minutes. Here is the pattern, along with how to stiffen it so that it stays crisp on the tree.
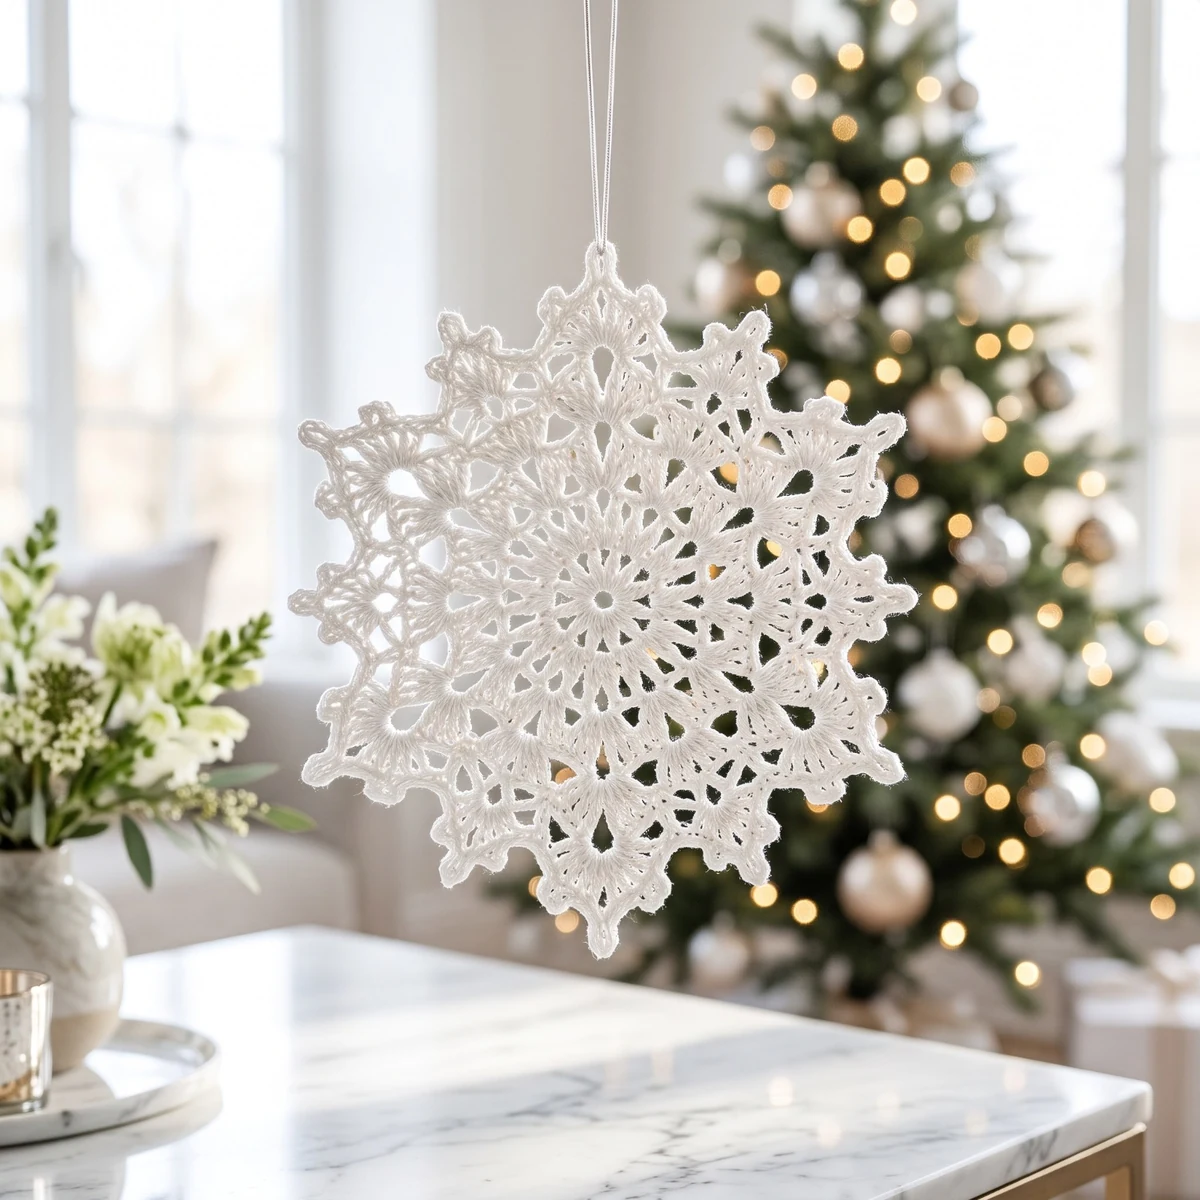
This small snowflake has one round and six arms, and it's the same charm we use at the bottom of our snowman spiral ornament. Once you know the arm, you can make one in a few minutes. Stiffening is what takes it from limp to crisp, so that part is covered below too.
What you need
- Yarn or thread: white DK or light worsted cotton, or size 10 crochet thread for a finer flake
- Hook: 3.0 mm for DK, or about 1.5 mm for size 10 thread
- Tapestry needle and scissors
In DK, expect a snowflake of roughly 4 to 5 cm across. Thread makes a much smaller one. Cotton is the better choice if you plan to stiffen it, since it absorbs stiffener more readily than acrylic.
Abbreviations (US terms)
- MR: magic ring
- ch: chain
- sl st: slip stitch
- FO: fasten off
The pattern
Start with a magic ring, then work the following arm six times in total:
- Ch 5.
- Sl st in the 2nd ch from the hook.
- Ch 3, then sl st in that same ch. This makes the small loop at the tip of the arm.
- Sl st down the remaining chains, back toward the ring.
- Sl st in the MR.
After the sixth arm, FO. Pull the ring closed tightly and weave in the end. Then gently pull each arm into position, so that they're evenly spaced around the center.
Easy ways to change it
- Longer arms: start each arm with ch 7 instead of ch 5, and slip stitch down the extra chains.
- Bigger or smaller: change only the yarn weight and hook. The pattern stays the same.
- Sparkle: use a metallic thread, though it's more slippery to work with, so go slowly.
- Hanger: tie a loop of thread through the tip of one arm, or use clear fishing line for an invisible hang.
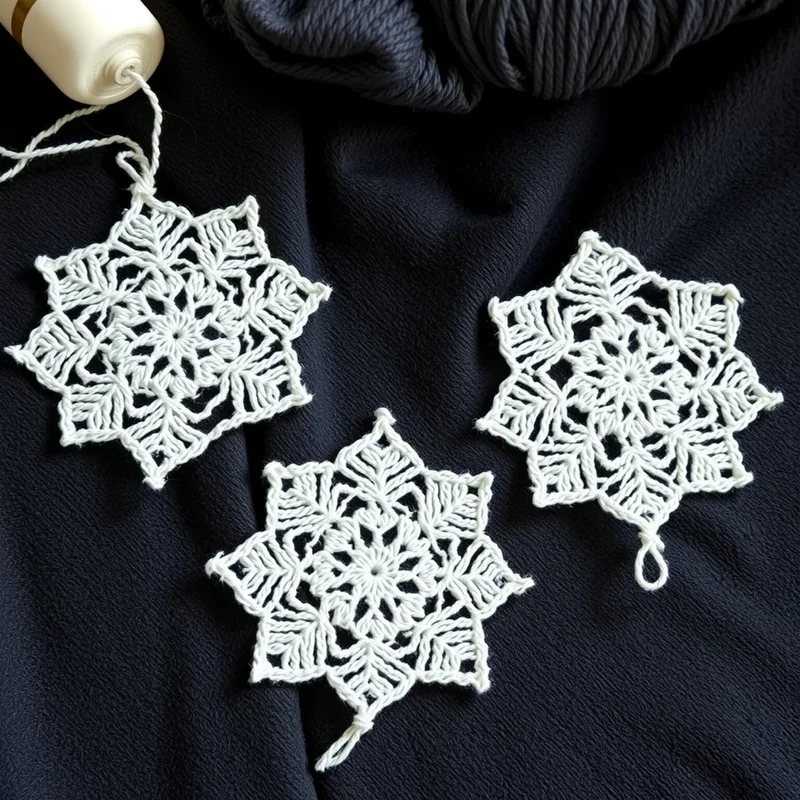
How to stiffen crochet snowflakes
Crochet is soft, so an unstiffened snowflake tends to droop. All of the methods below work the same way: wet the snowflake, pin it to shape and leave it to dry.
Choosing a stiffener
- Fabric stiffener: bought ready-made from craft shops. It's the simplest choice and usually dries clear. Follow the instructions on the bottle.
- PVA or white craft glue: mix about one part glue with one part water. It's cheap and gives a firm result. Use more water for a softer finish.
- Spray starch: the gentlest option, and useful if you want some softness. Expect to spray several coats, and it won't get as hard as glue.
Sugar water is an old method, but sugar can attract insects when the ornaments are stored, so we'd skip it.
Step by step
- Protect your board. Cover a foam mat or a piece of thick cardboard with cling film or wax paper, so that the snowflake won't stick to it.
- Soak the snowflake. Dip it in the mix and squeeze gently. It should be wet through, but not dripping.
- Clear the holes. Blot it with a paper towel. Pop any bubbles of glue in the gaps using a pin.
- Pin it out. Use rustproof pins. Start with one arm, then the arm opposite, and work around, so that it stays symmetrical.
- Let it dry fully. Leave it overnight, or up to 24 hours in damp weather, then remove the pins.
For more on pinning and shaping, read our guide on how to block crochet.
Ways to use your snowflakes
- Tie them to gift wrap in place of a bow
- Hang several at different heights in a window
- Sew one to a plain hat or a scarf
- Use them as a small daily piece in a crochet advent calendar
Frequently asked questions
Why does my snowflake look uneven?
It's usually down to shape, not stitches. Once stiffened and pinned, small differences between arms mostly disappear. If one arm is clearly shorter, check that you made the same number of chains in each.
Can I wash a stiffened snowflake?
Water will soften most stiffeners, particularly PVA. Dust it instead, and if it does get wet, reshape and stiffen it again.
How do I store them?
Lay them flat between sheets of tissue paper in a box, somewhere dry. Avoid stacking anything heavy on top, since stiffened arms can crack or bend.
Is a stiffened snowflake safe for a baby's room?
Hang it well out of reach. Stiffened ornaments are decorations and shouldn't be used as toys.
Crochet Christmas Ornament Set – 10 Amigurumi Patterns – Digital crochet pattern (PDF)