Easy Crochet Beanie Pattern: A Ribbed Hat Made From a Rectangle
No rounds and no increases. A ribbed rectangle, one seam and a gathered top make a stretchy beanie that fits a wide range of heads.
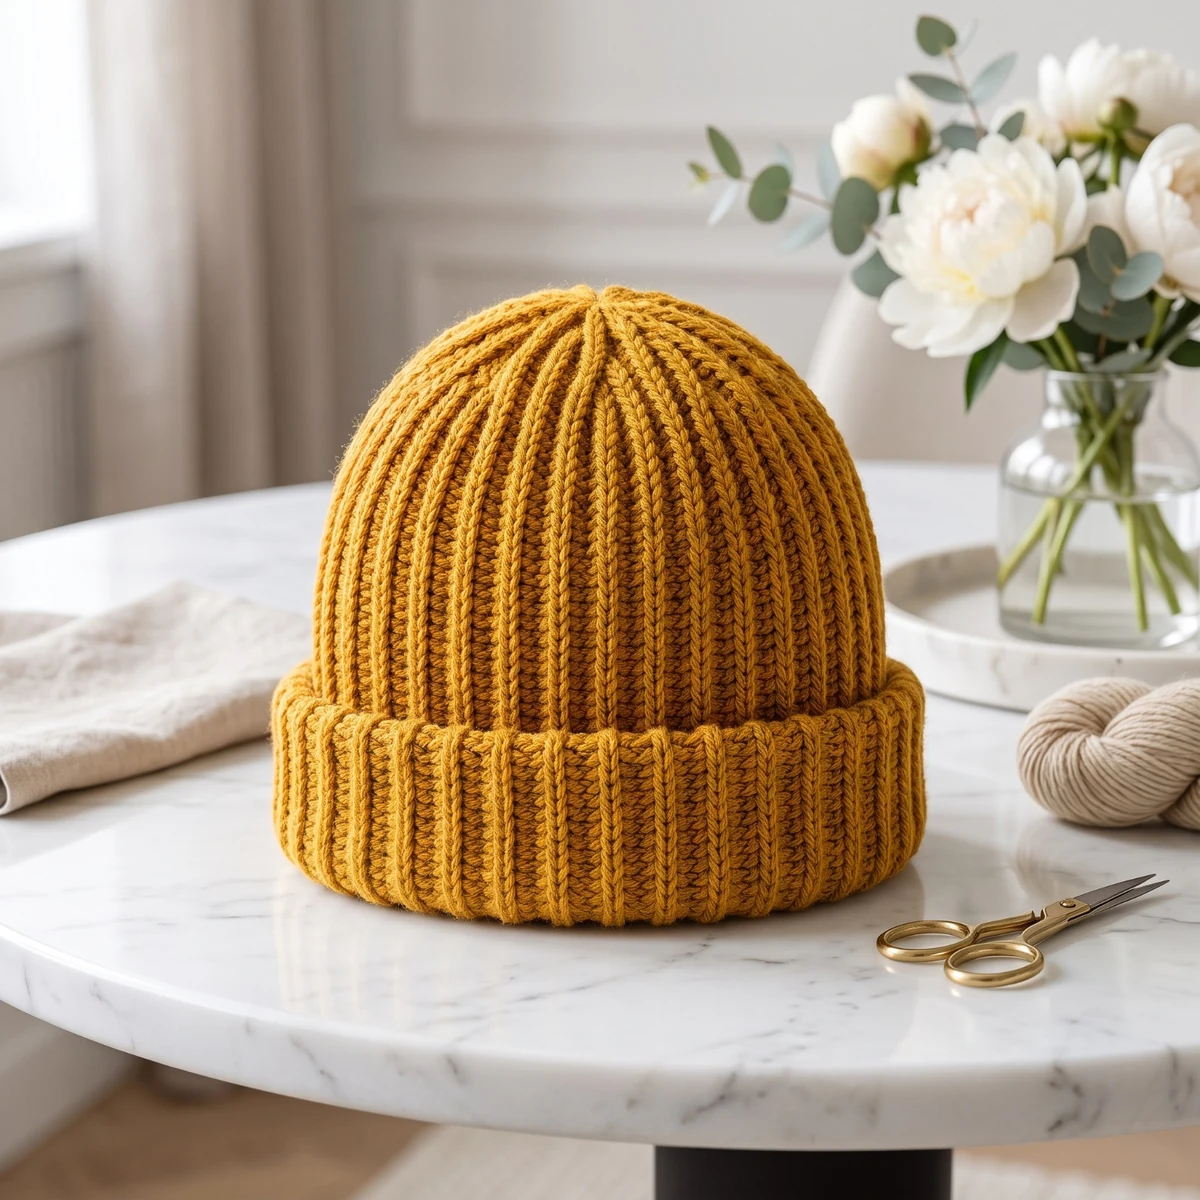
Most hat patterns start at the top and grow outward, so you have to get the increases right or the crown ends up frilled or pointy. This beanie avoids that entirely. You crochet a flat rectangle in a stretchy rib, sew it into a tube and pull the top closed. It looks like knitting, stretches well, and it's a fine first hat.
The pattern uses US terms. In UK terms, hdc is a half treble (htr).
What you need
- Yarn: worsted or aran weight, about 100 g for an adult hat
- Hook: 5.5 mm (I-9)
- Tapestry needle and scissors
Abbreviations: ch = chain, hdc = half double crochet, BLO = back loop only, sl st = slip stitch.
Working in the back loop only is what creates the rib. Each stitch has a V on top. Work into the half of the V that's farther from you, and the fabric forms soft, stretchy ridges.
Finding your size
Measure around the head, just above the ears. A beanie should be about 2 to 5 cm (1 to 2 in) smaller than the head, since the rib stretches to fit.
- Child: 50 cm (20 in) head, 46 cm (18 in) hat circumference, 20 cm (8 in) hat height
- Adult small: 53 cm (21 in) head, 49 cm (19 in) hat circumference, 23 cm (9 in) hat height
- Adult medium: 56 cm (22 in) head, 52 cm (20.5 in) hat circumference, 25 cm (10 in) hat height
- Adult large: 59 cm (23 in) head, 55 cm (21.5 in) hat circumference, 27 cm (10.5 in) hat height
For a deep folded brim, add 5 cm (2 in) to the height.
The pattern
Your chain sets the hat's height, and the number of rows sets how far it goes around your head.
Foundation: ch 36. This should measure close to 25 cm (10 in). Add or remove chains to match your size.
Row 1: hdc in the 2nd ch from the hook and in each ch across.
Row 2: ch 1, turn. Hdc BLO in each st across. Work the first stitch into the very first stitch, and finish in the very last stitch. Your count should stay the same.
All other rows: repeat Row 2 until the rectangle, when wrapped around your head, meets with a slight stretch. It should feel snug, but it shouldn't pull.
Making the hat
- Seam the sides. Fold the rectangle so that the first and last rows touch, with the right side facing inward. Sl st through both layers along the seam, then fasten off. Turn it right side out.
- Gather the top. Thread a long piece of yarn on a tapestry needle. Weave it in and out of the row ends around the top edge, about every second row.
- Close it. Pull the yarn hard so the top closes up, then pass the needle through the center a couple of times. Knot on the inside.
- Finish. Weave in the ends and fold up the brim.
Three easy changes
- Slouchy hat: add 5 cm (2 in) to the foundation chain. The extra height sits at the back of the head.
- Pom-pom: wind yarn around a piece of card about 60 times. Tie it in the middle, cut the loops and trim it round. Then tie it to the top of the hat.
- Stripes: change color every 4 rows. Because you work up the length of the hat, the stripes run vertically. Here's how to change colors in crochet.
Yarn choices
Merino and wool blends feel warm and hold their stretch well. Acrylic is cheaper and easy to wash. Cotton has little stretch, so it isn't a good choice for this hat, as it tends to lose its fit. If you want to match a set, this hat pairs well with an easy moss stitch scarf or fingerless gloves.
Frequently asked questions
Why's my beanie too big?
The rib stretches more than you might expect. Before you sew, wrap it around your head again and remove a few rows if needed. It's easy to undo, as explained in our mistakes guide.
Can I crochet a beanie in the round instead?
Yes, but you'd need different shaping for the crown. This flat method is easier for your first hat since it needs only a single stitch count.
How long does it take?
An experienced crocheter could finish it in an evening or two, and a beginner might need a few more sessions. The yarn and hook size are both on the larger side to keep the project moving.
Can I make a baby size?
Yes, using the same method: measure the baby's head and subtract a little. Avoid pom-poms on a baby's hat, as they can come loose.
Mini Crochet Snowman Pattern – Amigurumi with 18 Hats – Digital crochet pattern (PDF)