Crochet Flower Coaster Pattern – 3D Tulip, Daisy & Sunflower
Crochet flower coaster pattern with standing 3D flowers: tulip, daisy, sunflower, rose, lavender and more. Fits standard mugs; 7 styles.
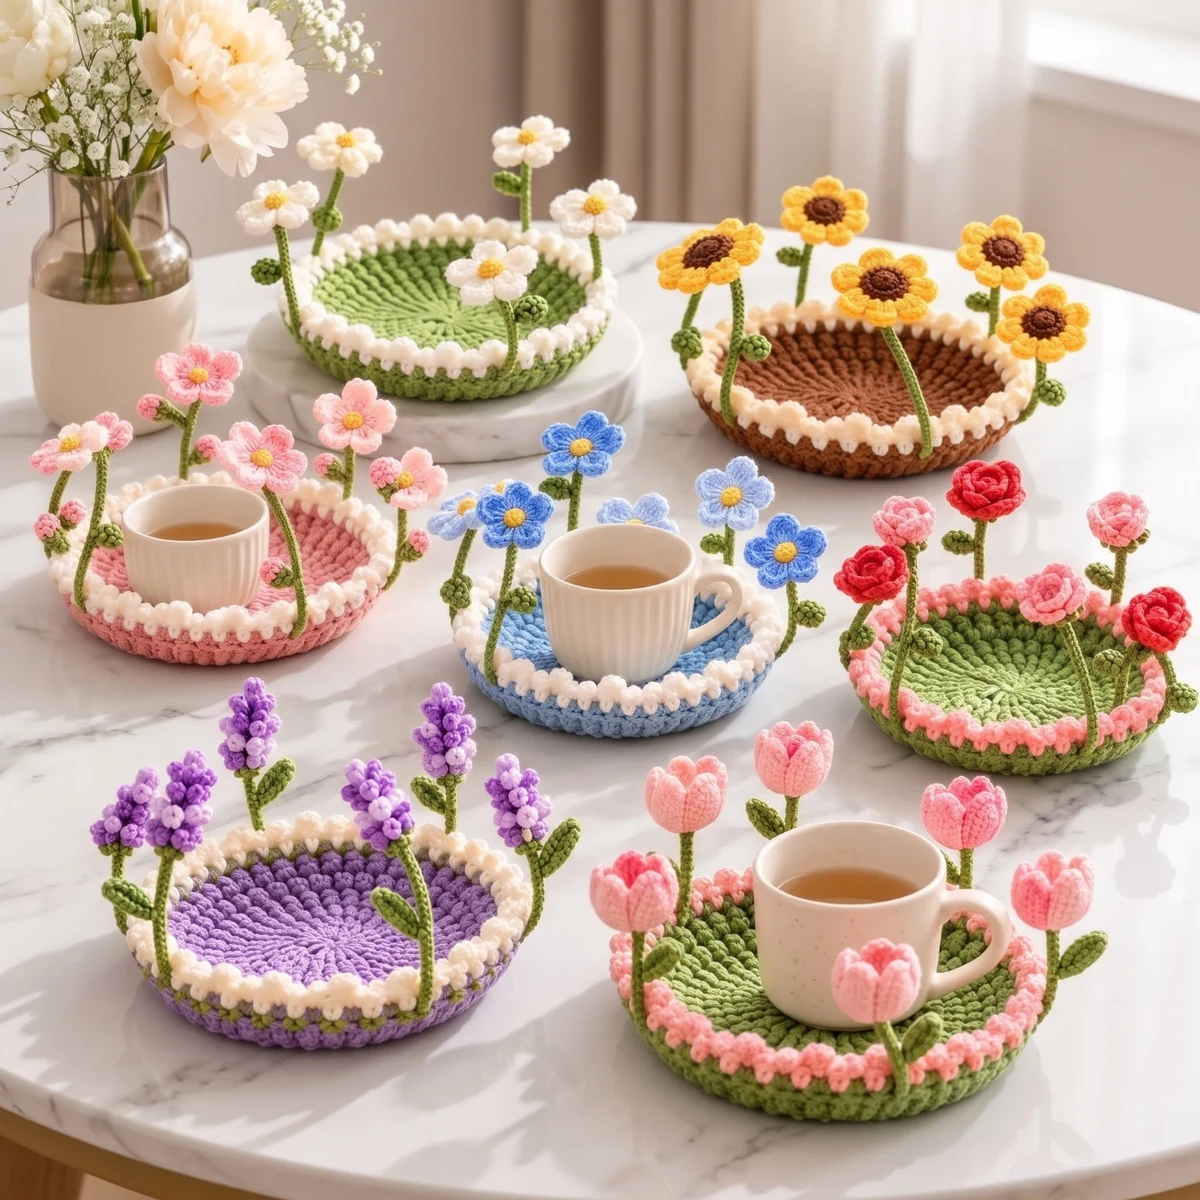
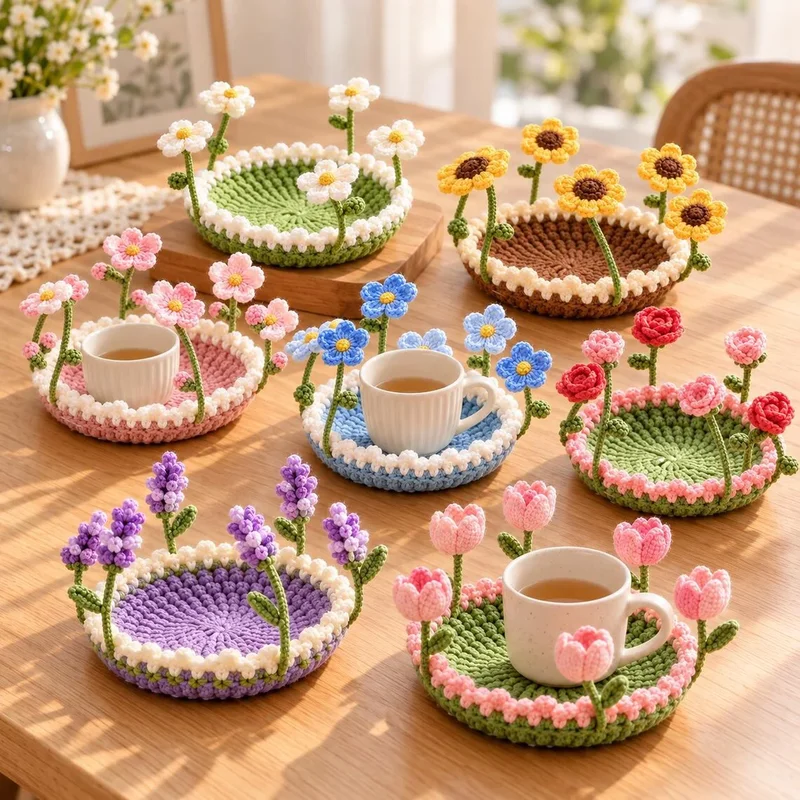
Crochet pattern • 7 flower styles: Daisy, Sunflower, Cherry Blossom, Forget-Me-Not, Lavender, Rose & Tulip
Skill level · Finished size · Yarn · Hook · Time
Easy / confident 11 cm (4.3 in) across · DK milk cotton · 3.0 mm (C/D) · approx. 3 hours beginner
About This Pattern
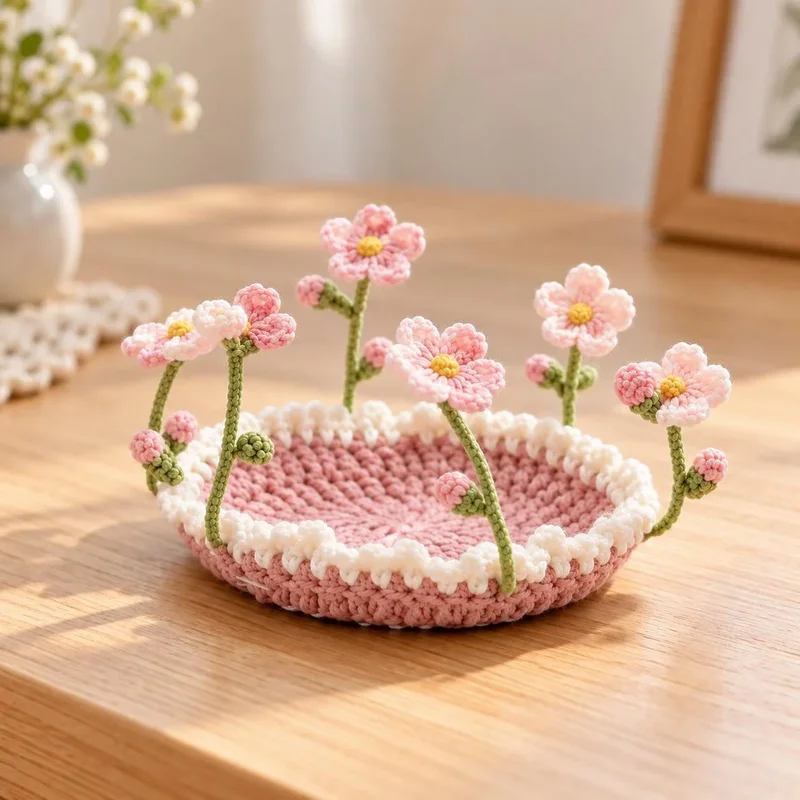
A cosy cup coaster with a little raised wall, a scalloped edge and a ring of standing flowers on wired stems. The base is a simple flat circle of single crochet, so it is a perfect first “real” project. Once you have made one, you can switch the colours and the flower to make the whole garden set.
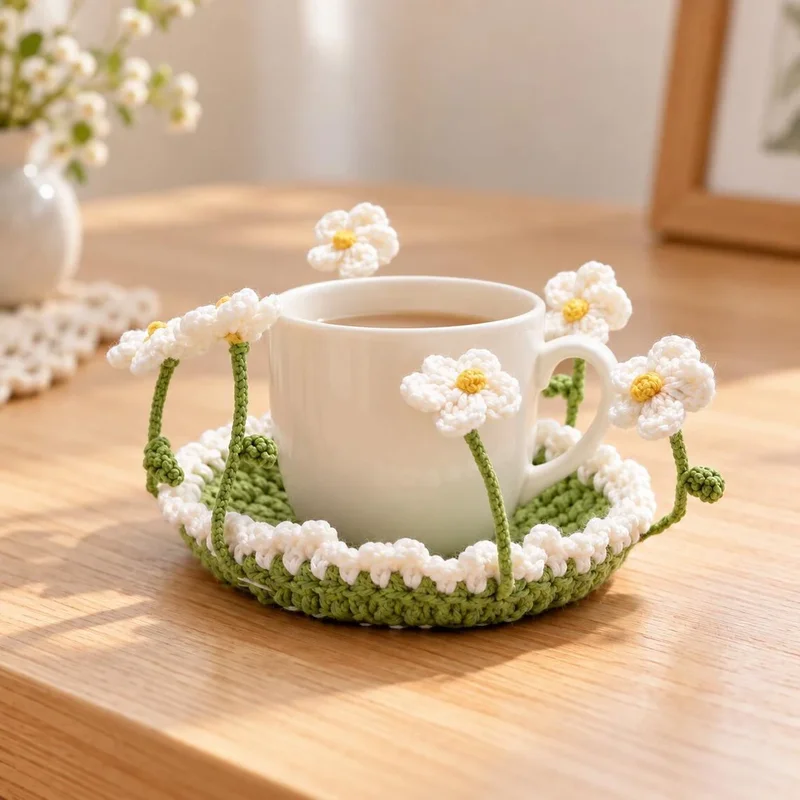
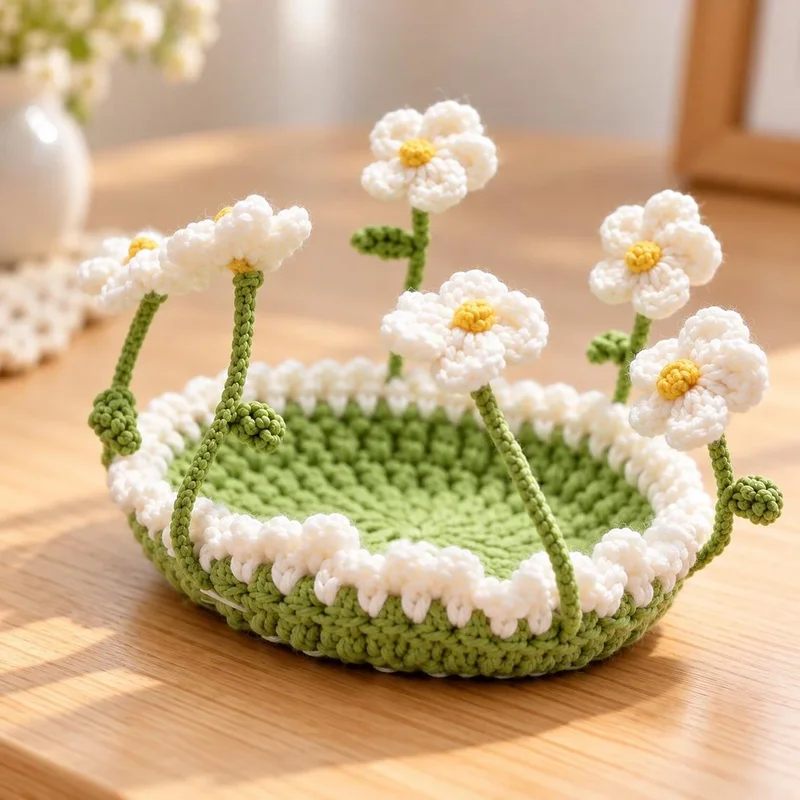
With a mug · Daisy coaster
Materials
Yarn · DK (light worsted / 5-ply) milk cotton or cotton blend. About 35 g of colour A (base), 10 g of colour B (edge), 8 g of flower colour, 5 g of yellow or brown for centres, 10 g of leaf green.
Hook · 3.0 mm (US C/D). Use 2.5 mm for the flowers if you crochet loosely.
Stems · 6 green pipe cleaners (chenille stems) or 6 pieces of 0.8 mm floral wire, each 12–14 cm long.
Notions · Stitch marker, yarn needle, scissors, a little toy stuffing (for tulips), optional fabric glue.
Gauge · Rounds 1–6 of the base = 5 cm (2 in) across. Gauge is not critical, but the coaster must be about 1 cm wider than the bottom of your mug.
Beginner tip The base is worked in a spiral. Place your stitch marker in the first stitch of every round.
Before You Start
Read this page once before you begin. Every pattern in this book uses US crochet terms. If you are brand new, practise each stitch below on a scrap of yarn first — ten minutes of practice will make the pattern feel easy.
Abbreviations
MR · magic ring (adjustable ring)
ch · chain
sl st · slip stitch
sc · single crochet
hdc · half double crochet
dc · double crochet
tr · treble crochet
inc · increase: 2 sc in the same stitch
dec · decrease: single crochet 2 stitches together (invisible decrease)
BLO / FLO · back loop only / front loop only
st(s) · stitch(es)
sp · space
FO · fasten off: cut yarn, pull the tail through the last loop
[ ] x6 · repeat what is inside the brackets 6 times
(24) · total stitches at the end of the round/row
Rnd / Row · round (worked in a circle) / row (worked back and forth)
Chart symbols
chain (ch) · slip st (sl st) · single (sc) · half double (hdc) · double (dc) · magic ring
How to read a round
- Rnd 4: [2 sc, inc] x6 (24) means: work 1 sc in each of the next 2 stitches, then 2 sc in the next stitch. Repeat that 6 times in total. At the end you should have 24 stitches. Count your stitches at the end of every round and tick the box — it is the single best habit for getting the same result as the photos.
Tension Your tension (how tightly you hold the yarn) matters more than the hook size. If your piece looks holey or the stuffing shows, go down half a hook size. If it is stiff and hard to work, go up half a size.
Stitch School
Everything you need to make the projects in this book, step by step.
Slip knot · Make a loop with the yarn, pull a second loop through it and slide it onto your hook. Tighten gently. This is how almost every piece starts.
Chain (ch) · Yarn over (wrap the yarn over the hook from back to front) and pull it through the loop on your hook. One chain made.
Magic ring (MR) · Wrap the yarn around two fingers to make a ring, insert the hook into the ring, pull up a loop, ch 1. Work the stitches of round 1 into the ring, then pull the short tail to close the centre tightly. No hole!
Single crochet (sc) · Insert hook into the stitch (under both top loops), yarn over, pull up a loop (2 loops on hook), yarn over, pull through both loops.
Half double crochet · Yarn over, insert hook into stitch, yarn over and pull up a loop (3 loops on hook), yarn over (hdc) · and pull through all 3 loops.
Double crochet (dc) · Yarn over, insert hook, yarn over and pull up a loop (3 loops), [yarn over, pull through 2 loops] twice.
Treble crochet (tr) · Yarn over twice, insert hook, yarn over and pull up a loop (4 loops), [yarn over, pull through 2 loops] three times.
Increase (inc) · Work 2 single crochets into the same stitch. This adds 1 stitch.
Invisible decrease · Insert hook into the FRONT loop only of the next stitch, then into the FRONT loop only of the (dec) · following stitch (3 loops on hook). Yarn over, pull through 2 loops, yarn over, pull through the last 2. This removes 1 stitch and is almost invisible.
Back / front loop only Each stitch has 2 loops on top in a V shape. The one closest to you is the front loop; the one further away is the back loop. Insert your hook under only the loop named.
Working in a spiral · Amigurumi rounds are NOT joined. Put a stitch marker (or a scrap of yarn) in the first stitch of each round and move it up every round so you always know where a round starts.
Colour change · Work the last stitch in the old colour until 2 loops remain on the hook, then yarn over with the NEW colour and pull through. Carry on in the new colour. Tie the two tails together inside the piece.
Closing a piece · After the last round, cut the yarn leaving 15 cm, thread it on a yarn needle and weave it through the front loop of each of the last stitches. Pull tight like a drawstring, then weave the tail into the piece.
Sewing pieces on · Pin the piece first and check it from all sides. Use the long tail and a yarn needle. Stitch under one loop of the piece, then under a stitch of the body, and repeat all the way around.
Small even stitches are invisible.
French knot · Bring the needle up, wrap the yarn twice around the needle, then put the needle back in right next to where it came out. Hold the wraps while you pull through. Used for buttons, berries and tiny dots.
Back stitch · Bring the needle up one stitch ahead, go back down one stitch behind, come up one stitch ahead again. Used for mouths, eyebrows and icing lines.
Safety eyes · Push the post through the front between the rounds shown, check the position, then press the washer on from the inside BEFORE you close the piece. For children under 3 years, embroider the eyes instead.
Part 1 — The Coaster
shell edge wall base
Top view: 1 flower every 12 stitches of Rnd 154 · Side view: stems run down the OUTSIDE of the wall
Base (yarn: colour A)
The base is a flat circle. Each round adds 6 stitches. The increases are moved around (“staggered”) on even rounds so the circle stays round instead of turning into a hexagon.
- Rnd 1: 6 sc in a magic ring (6)
- Rnd 2: inc in every st (12)
- Rnd 3: [sc, inc] x6 (18)
- Rnd 4: [sc, inc, sc] x6 (24)
- Rnd 5: [sc 3, inc] x6 (30)
- Rnd 6: [sc 2, inc, sc 2] x6 (36)
- Rnd 7: [sc 5, inc] x6 (42)
- Rnd 8: [sc 3, inc, sc 3] x6 (48)
- Rnd 9: [sc 7, inc] x6 (54)
- Rnd 10: [sc 4, inc, sc 4] x6 (60)
- Rnd 11: [sc 9, inc] x6 (66)
- Rnd 12: [sc 5, inc, sc 5] x6 (72)
Beginner tip Lay the circle on the table after Rnd 8. If it curls up like a bowl, you are crocheting too tightly — go up a hook size. If it ripples like a frill, go down a hook size.
Wall (yarn: colour A, then colour B)
- Rnd 13: Working in BLO: sc in each st around. The edge now turns up to start the wall. (72)
- Rnd 14: sc in each st around (72)
- Rnd 15: sc in each st around. Sl st into the next st, cut colour A. (72)
Change to colour B (for Rose and Tulip use pink for Rnd 16 and white for Rnd 17).
- Rnd 16: Join colour B in any st. Ch 1, sc in each st around, sl st into the first sc. (72)
Shell edge: ch 1, sl st in first st, [skip 1 st, 5 dc in next st, skip 1 st, sl st in next st] x18. · (18 The last sl st lands in the first sl st. · shells) Fasten off and weave in all ends on the underside.
Shell edge Count: 72 ÷ 4 = 18 shells. If your count is off by one stitch, it is fine to put the last shell a stitch early — nobody will see it.
Part 2 — Stems and Leaves
Stem — make 6 (yarn: leaf green)
- Rnd 1: 4 sc in a magic ring (4)
- Rnd 2–16: sc in each st around (a thin tube) (4)
Do not fasten off yet. Push a pipe cleaner into the tube so 1.5 cm sticks out of the open end. Vary the length: make 2 stems with 14 rnds, 2 with 16 and 2 with 18 so the flowers stand at different heights.
End · Pinch the open end flat and sc through both layers (2 sts). Fasten off, leave a 20 cm tail.
Leaf — make 6–8 (yarn: leaf green)
- Row 1: Ch 6. Starting in the 2nd ch from the hook: sl st, sc, hdc, sc, sl st. Fasten off, leave a tail. (5)
Curl bud — make 6 (yarn: leaf green)
6 sc in a magic ring, pull tight, sl st to the first sc. Fasten off. This tiny ball sits at the
- Rnd 1: (6) bottom of each stem like in the photos.
Part 3 — The Flowers
Make 6 flowers of one type for each coaster (or mix them!). Leave a 20 cm tail on every flower for sewing it to the top of a stem.
5-Petal Flower (Daisy, Cherry Blossom, Forget-Me-Not) — make 6 (yarn: centre yellow + petal colour)
- Rnd 1: With yellow: ch 1, 5 sc in a magic ring, sl st to the first sc. Cut yellow. (5)
Join petal colour in any st. [(sl st, ch 2, 3 dc, ch 2, sl st) all in the same st] x5 — one · (5 petal in each st. Sl st to the start. · petals)
Beginner tip For extra-puffy daisies like the photos, make a second Rnd-2 layer behind the first: work the petals into the back loops of Rnd 1 first, then into the front loops.
Cherry blossom bud — make 3 per coaster (yarn: light pink)
- Rnd 1: 6 sc in a magic ring, sl st to the first sc. Fasten off. Sew to the stem just under a leaf. (6)
Sunflower — make 6 (yarn: brown centre + yellow petals)
- Rnd 1: With brown: 6 sc in a magic ring (6)
- Rnd 2: inc in each st. Sl st to the first sc, cut brown. (12)
(12
- Rnd 3: Join yellow. [(sl st, ch 2, dc, ch 2, sl st) in the same st] x12 — one petal per stitch. petals)
Tulip — make 5–6 (yarn: pink)
- Rnd 1: 6 sc in a magic ring (6)
- Rnd 2: inc in each st (12)
- Rnd 3: [sc, inc] x6 (18)
- Rnd 4–6: sc in each st around (18)
- Rnd 7: Petal tips: [sc 2, (hdc, dc, ch 1, dc, hdc) in next st, sc 3] x3. Sl st, fasten off. (3 tips)
Stuff very lightly, push the top of a stem in from the bottom of the cup and sew around it.
Rolled Rose — make 6 (yarn: red or pink)
Ch 16. 3 dc in the 4th ch from the hook and in every ch to the end. The strip will twist
- Row 1: (39) and ruffle.
Fasten off with a 25 cm tail. Starting at the first end, roll the strip into a tight spiral. Sew through all layers at the bottom several times so it cannot unroll.
Lavender Spike — make 6 (yarn: purple)
Ch 13. Starting in the 2nd ch from the hook: [(sl st, ch 3, sl st) in the same ch] in each ch · (12 to the end. · picots)
Wrap the spike in a spiral around the top 3 cm of a stem and sew (or glue) it in place.
Part 4 — Putting It Together
- 1. Sew a flower to the top of each stem using the flower's tail. Sew right through the stem tube and the pipe cleaner end so the flower sits firmly.
- 2. Sew 1–2 leaves to each stem, about halfway down. Sew a curl bud to the bottom end of each stem.
- 3. Mark 6 places evenly around the coaster: Rnd 15 has 72 stitches, so put a marker every 12 stitches (see the diagram on the Part 1 page).
- 4. Hold a stem against the OUTSIDE of the wall at a marker so the bottom of the stem is level with the base. Tilt some stems a little left or right — it looks more natural.
- 5. Using the stem's long tail, sew the stem to the wall from top (just under the shell edge) to bottom. Take 4–5 small stitches through the wall each time. Knot inside the wall and hide the end.
- 6. Bend each stem gently so the flower leans slightly outward and does not get in the way of the mug.
- 7. Weave in every last end. Optional: put a 10 cm circle of felt or cork under the base for a non-slip finish.
Care Wash by hand in cool water and dry flat. Re-shape the stems while damp. Do not tumble dry — the wire can bend out of shape.
Colour Guide for All 7 Coasters
Daisy · A: Green (A) B: White (B) Flower: white petals, yellow centre
Sunflower · A: Brown (A) B: Cream (B) Sunflower: yellow petals, brown centre
Cherry Blossom · A: Pink (A) B: White (B) 5-Petal Flower in light pink + yellow, plus 3 pink buds
Forget-Me-Not · A: Light blue (A) B: White (B) 5-Petal Flower in blue + yellow
Lavender · A: Lilac (A) B: White (B) Lavender spikes in purple
Rose · A: Green (A) B: Pink, then white (B) Rolled roses in red/pink
Tulip · A: Green (A) B: Pink, then white (B) Tulip cups in pink
Gallery
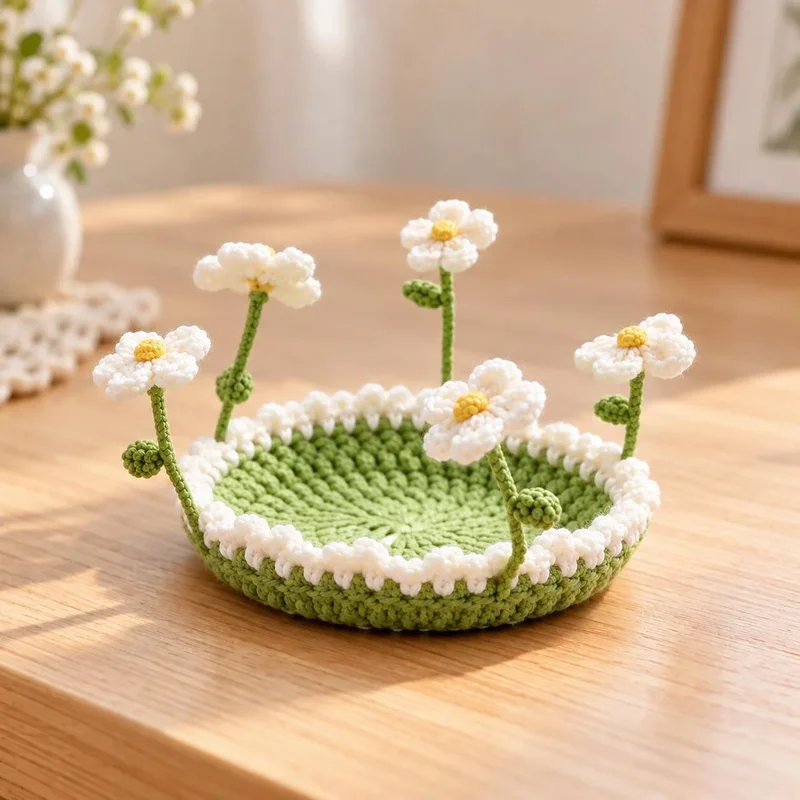
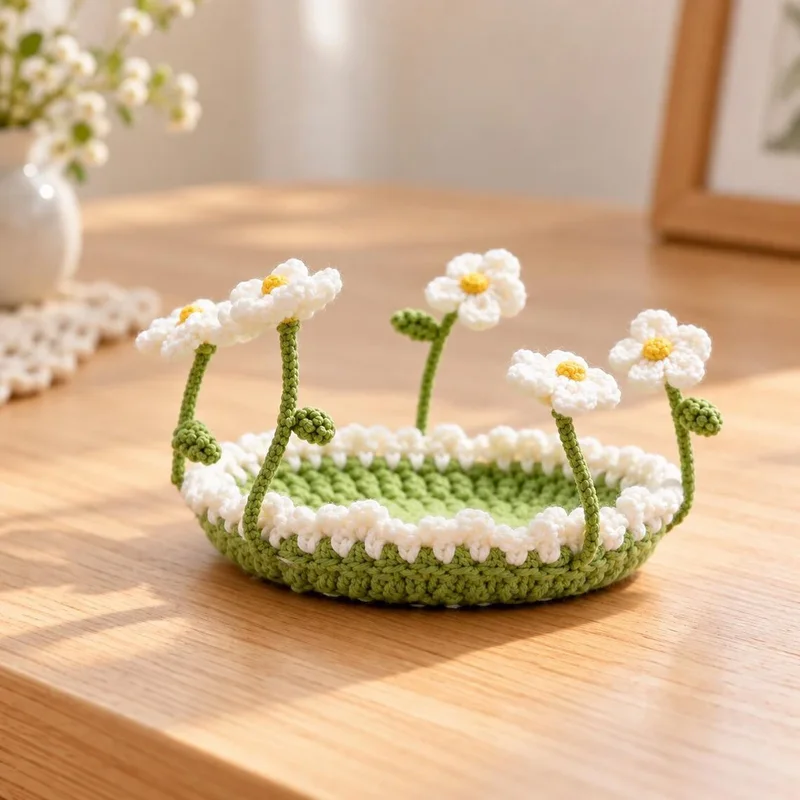
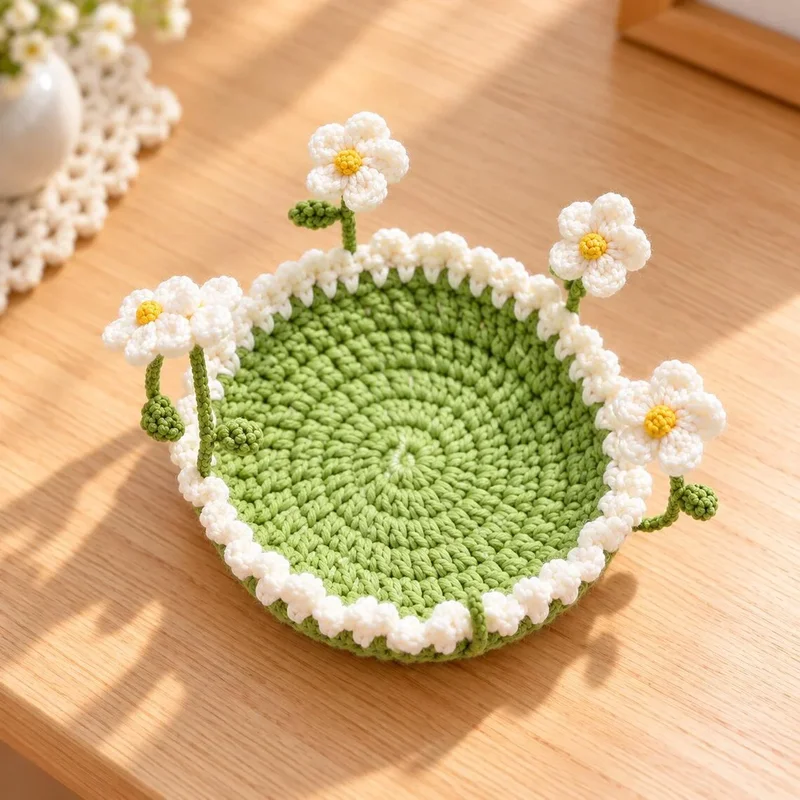
Daisy · Daisy, side · Daisy, top
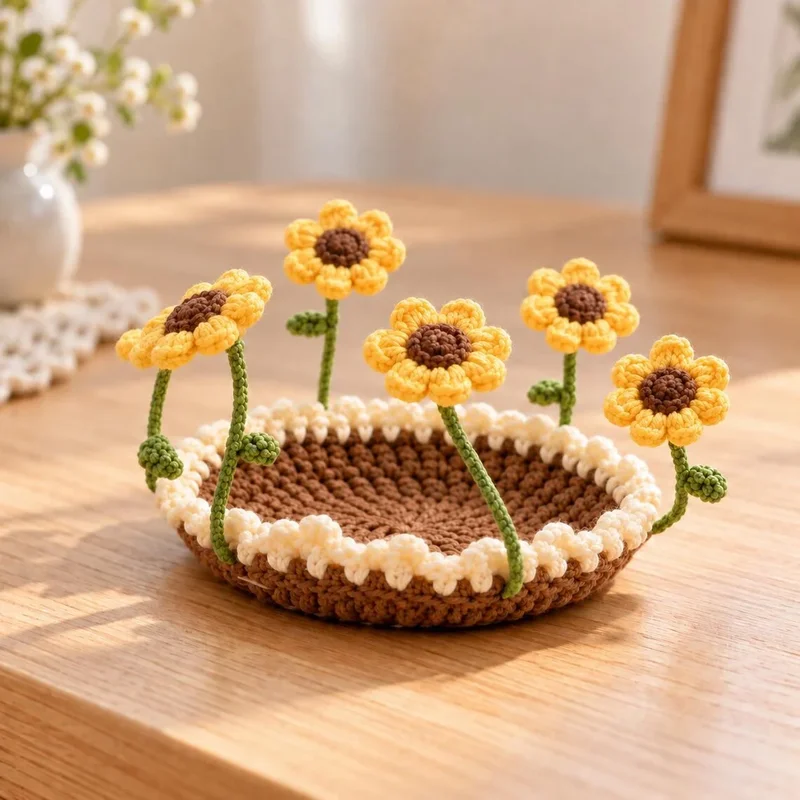
Sunflower · Cherry Blossom · Forget-Me-Not
The full set: lavender, tulip, rose and more
Pop-Up Flower Coaster Crochet Pattern – 6 Garden Designs – Digital crochet pattern (PDF)