Crochet Ribbing: 3 Ways to Make a Stretchy Stitch
Crochet doesn't stretch much by nature, but these three ribs do. Here's how each one works, and which to use for cuffs, hats and sweaters.
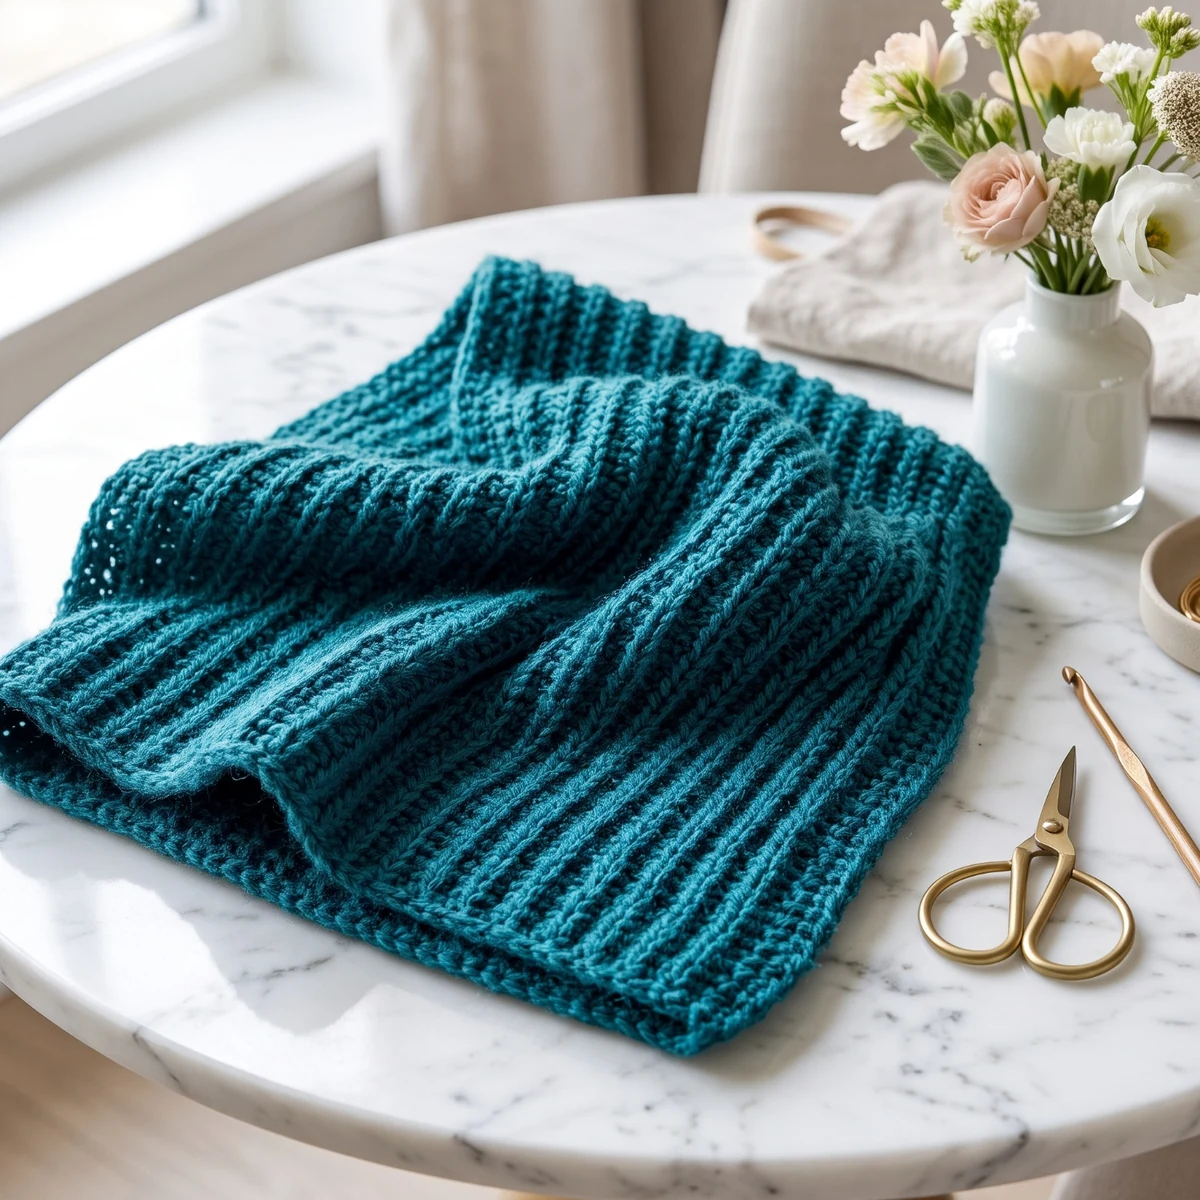
Crochet fabric doesn't stretch as much as knitting, which is a problem for cuffs, hat brims and anything that needs to hug the body. Ribbing solves that. There are three common ways to make it, and they don't look or behave the same.
The instructions below use US terms. In UK terms, sc is a double crochet, hdc is a half treble and dc is a treble.
Method 1: Back loop slip stitch
This is the stretchiest and the most like knitting. It's also the slowest, and it can tire your hands.
Foundation: ch 16.
- Row 1: sl st in the 2nd ch from the hook and in each ch across (15).
- Row 2: ch 1, turn. Sl st in the back loop only of each st across (15).
Repeat Row 2. Keep your tension loose. Tight slip stitches make it hard to find the next stitch, and the fabric loses its stretch.
Best for: cuffs, the bands of hats and neat edges on sweaters.
Method 2: Back loop half double crochet
This is the rib to use when you want speed. It's the stitch in our crochet beanie and leg warmers.
Foundation: ch 21.
- Row 1: hdc in the 2nd ch from the hook and in each ch across (20).
- Row 2: ch 1, turn. Hdc in the back loop only of each st across (20).
Repeat Row 2. One thing confuses people the first time: the rows run in the opposite direction from the ribs, so the foundation chain sets the length of the ribs, and the number of rows sets the width of the fabric.
Best for: hats, cowls, leg warmers and most projects made from a rectangle.
Method 3: Front and back post double crochet
This one looks most like a knitted rib, and the columns are vertical, in the direction you work. It's thick, so it's warm. It also has less stretch than the other two.
Foundation: ch 22.
- Row 1: dc in the 4th ch from the hook and in each ch across. The first 3 chains count as a stitch (20).
- Row 2: ch 3 (counts as a stitch), turn. Skip the first st. Then repeat across: front post dc around the next st, back post dc around the next st. Finish with 1 dc in the top of the turning chain (20).
Repeat Row 2. Because of how the fabric turns, you always start with the front post stitch, and the ribs still line up. If you're new to post stitches, our waffle stitch guide explains how to go around the post.
Best for: sweater hems, thick cuffs and rib worked directly on a finished piece.
Which one to choose
- Maximum stretch: back loop slip stitch
- Fastest: back loop half double crochet
- Looks most like knitting: post stitches, from a distance, or slip stitch up close
- Warmest: post stitches
Whichever you choose, make a small swatch and pull it. The rib should spring back when you let go. If it stays stretched out, your yarn may be the reason: wool has natural elasticity, whereas cotton does not.
Common problems
- The edge gets narrower: the last stitch of the row is easy to miss. Mark it until you can spot it. Our common mistakes guide covers this one too.
- The rib looks flat: check that you're using the back loop and not both loops.
- It isn't stretchy: go up a hook size. Tight stitches can't stretch.
Frequently asked questions
What's the stretchiest crochet stitch?
Slip stitch worked in the back loop only. Most of the stretch runs in one direction, across the ribs.
Can I crochet ribbing in the round?
Post stitches work well in the round, since you can keep the same two stitches in every round. The back loop methods work best in rows, which you then sew together into a tube.
How do I attach ribbing to a sweater?
Crochet the rib as a separate strip, then sew it on. Alternatively, work post stitches directly into the edge.
Mini Crochet Snowman Pattern – Amigurumi with 18 Hats – Digital crochet pattern (PDF)