Crochet Plant Pot Cover: A Pattern That Fits Any Pot
You don't need a pattern for each pot, just one rule: make a circle the size of the base, then stop increasing and work straight up.
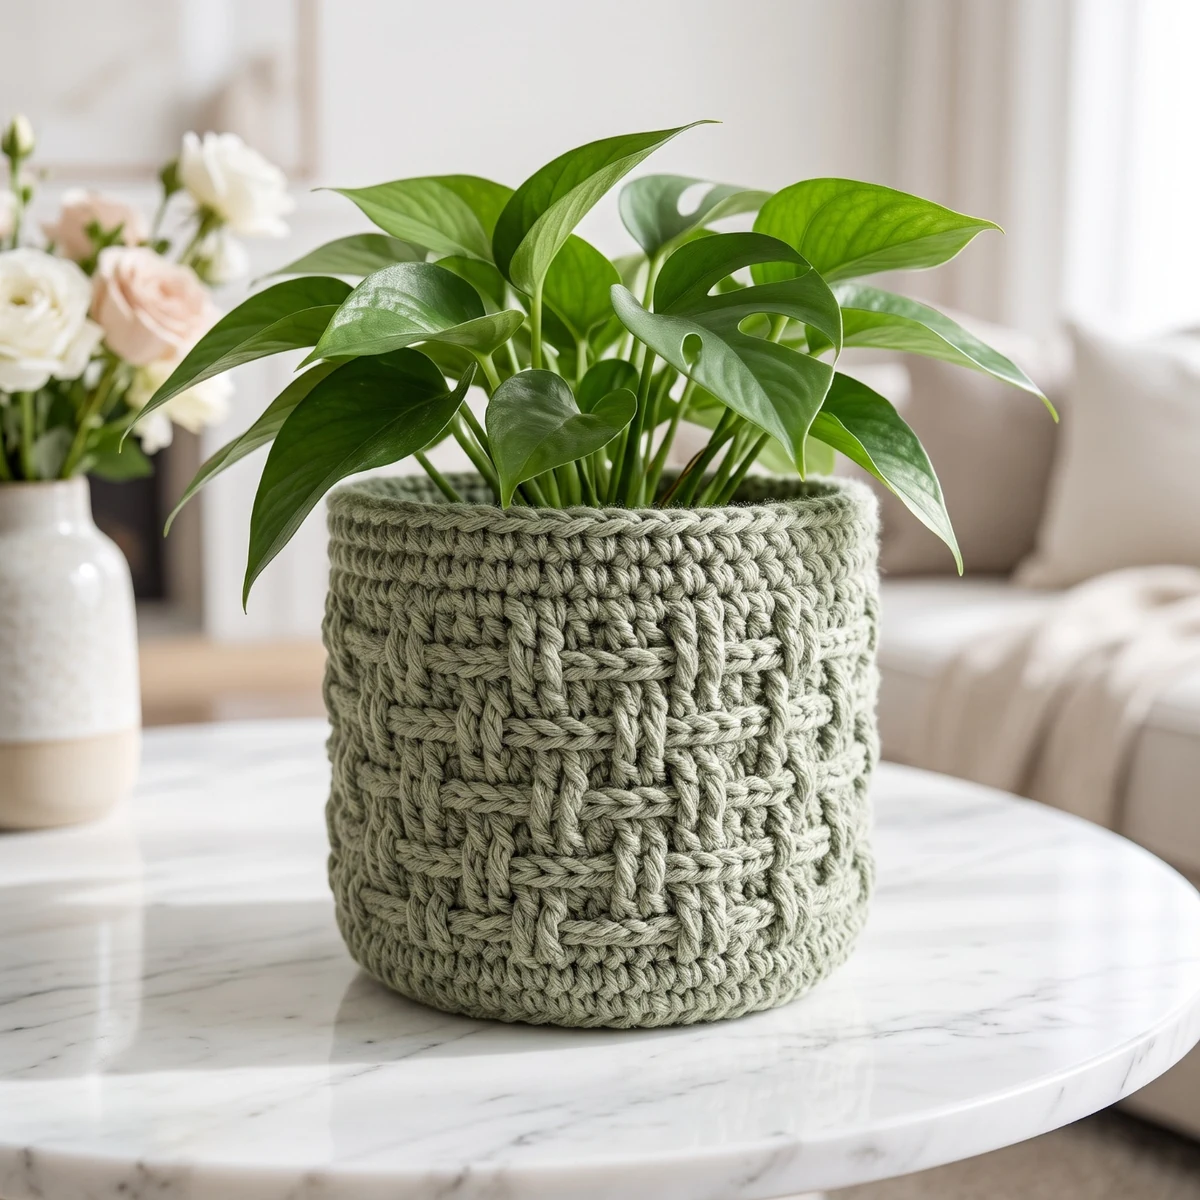
Plant pots come in every size, so a fixed pattern is rarely much use. This one works on any pot, because you measure as you go. It teaches something you can use for baskets, bins and bags as well: a flat circle turns into a cup the moment you stop increasing.
The pattern uses US terms. In UK terms, sc is a double crochet.
What you need
- Yarn: cotton string or worsted weight cotton. A pot of about 12 cm (5 in) needs about 100 g.
- Hook: 4 mm. Tight stitches help the cover stand up on its own.
- Stitch marker and tapestry needle
Abbreviations: MR = magic ring, sc = single crochet, inc = 2 sc in one stitch, BLO = back loop only.
The base
Work in a continuous spiral, moving your marker up at the start of each round.
- Round 1: 6 sc in MR (6)
- Round 2: inc in each st (12)
- Round 3: [sc, inc] 6 times (18)
- Round 4: [2 sc, inc] 6 times (24)
- Round 5: [3 sc, inc] 6 times (30)
Keep adding 6 stitches per round in the same way. After every round, set the pot on top. Stop when the circle is the same size as the bottom of the pot, or slightly bigger.
The sides
- Next round: sc BLO in each st. This turns the edge upward and gives the cover a neat, sharp bottom.
- All other rounds: sc in each st.
Try the pot inside often. Most pots get wider toward the top. If yours does, add 1 or 2 increases on a round whenever the cover starts to feel tight. Space them out around the round, not above each other.
Stop about 1 cm (0.5 in) below the rim of the pot, or carry on and fold down a cuff.
Finishing
Sl st into the next 2 stitches, then fasten off. Weave in the ends on the inside.
Don't forget the water
Crochet soaks up water, and the cover will stay wet against the pot.
- Keep a plastic pot with drainage holes inside, and put a small saucer in the bottom of the cover.
- Take the pot out to water it, and let it drain in the sink.
- Wash the cover from time to time, as soil and damp can stain it.
Ways to make it your own
- Handles: on one round, ch 12 and skip 6 stitches on opposite sides. On the next round, sc into each of the chains.
- Stripes: change color every 3 rounds. Here's how to change colors.
- Texture: use the waffle or suzette stitches from our textured stitches guide on the sides.
- Hanging planter: add a long cord and hang it from a hook, using a very light pot.
The same idea works in a much thicker yarn for a storage basket. See our t-shirt yarn rug for the same circle at a larger scale.
Frequently asked questions
Why is my cover floppy?
The stitches are too loose. Use a smaller hook, and stay with single crochet. A strong cotton string helps too.
Why did the base curl before I wanted it to?
You've got too few stitches for your yarn. Add a couple more increases, and lay it flat to check.
Can I use it outdoors?
Cotton can get mildew from constant damp, so it's better indoors. For outdoors, look for a yarn made for that use.
Granny Square Tote Bag, Market Bag & Round Bag Crochet Patterns – Digital crochet pattern (PDF)