How to Crochet a Bow Garland for Christmas
Each bow is just a small rectangle cinched in the middle. Here's how to make them quickly, how many you'll need and how to string them up.
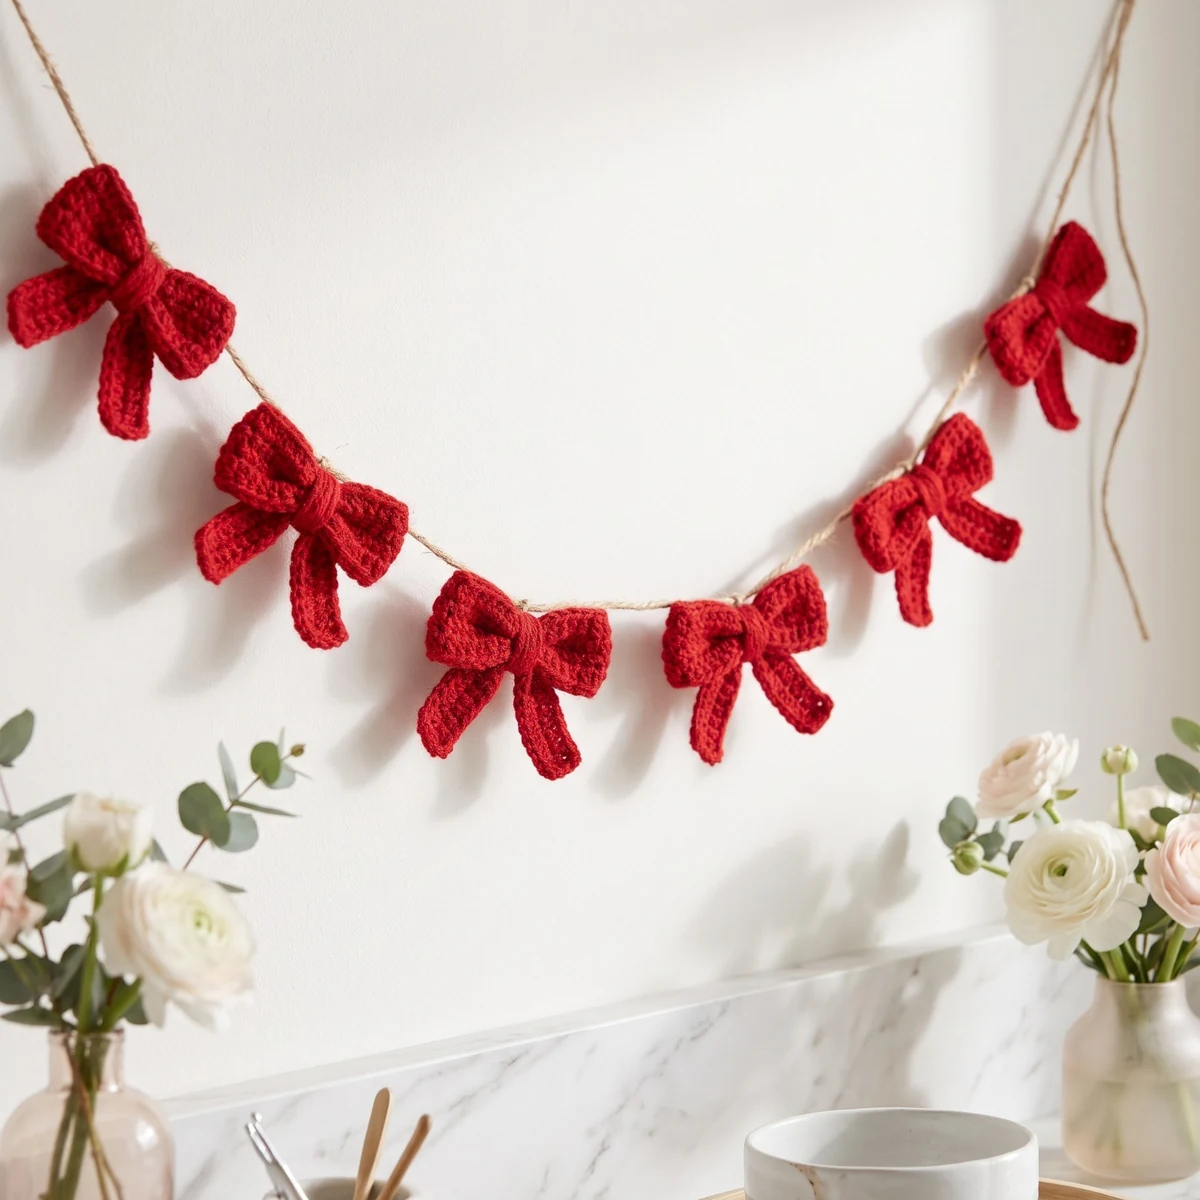
A bow takes minutes and needs no shaping at all. It's a small rectangle with yarn wrapped around the middle. That makes a bow garland one of the most forgiving Christmas projects: if one bow is slightly bigger than the next, it just looks handmade.
The pattern is in US terms. If you normally use UK terms, sc is your double crochet.
What you need
- Yarn: worsted or aran weight in your garland color. One 100 g ball goes a long way on a project like this. Choose acrylic or a cotton blend that holds its shape.
- Hook: 4 mm (G-6)
- String: natural twine, ribbon or a long crochet chain
- Tapestry needle and scissors
The classic bow
Foundation: ch 13.
- Row 1: sc in the 2nd ch from the hook and in each ch across (12 sc).
- Rows 2 to 8: ch 1, turn, sc in each st (12 sc).
- Fasten off, leaving a tail of about 40 cm (16 in).
You'll have a rectangle that's a bit wider than it is tall. Wet blocking isn't needed, but you can press it flat with your fingers.
Cinching the center
- Pinch the rectangle in the middle to make two folds, like a paper fan.
- Wrap the long tail around the pinch, firmly, 8 to 10 times.
- Thread the tail on a needle and pass it under the wraps at the back.
- Knot it at the back of the bow and leave the end for tying the bow to your string.
Pull those wraps tighter than feels necessary. A loose center is the main reason that bows flop.
A bow with tails
For a more traditional look, add two small tails:
- Join yarn to the back of the cinched center.
- Ch 16, then turn and slip stitch back along the chain.
- Repeat for the second tail, and trim the ends.
Tails are easy to add at the end, so finish all your bows first and decide then.
How many bows do you need?
Measure the space first, allowing extra for the drape. Then work out the spacing.
- Fireplace or shelf, 1.5 m (5 ft): 10 bows, at 15 cm (6 in) apart
- Doorway or wide window, 2.5 m (8 ft): 16 or 17 bows, at the same spacing
- Christmas tree: 4 to 5 m (13 to 16 ft) for a medium tree, with 25 to 30 bows
Before you make them all, tie the first three bows to your string, and hold it up. It's the easiest way to see whether the spacing feels right.
How to string them together
- Lay the string out flat, and mark the middle.
- Tie the center bow on first, then work out toward each end. This keeps the garland balanced.
- Tie each bow with its long tail using a double knot, and trim.
- Leave at least 15 cm (6 in) free at each end for hanging.
To make a matching crochet string, chain to the length you need using a hook one size larger, so it doesn't pull up too tight.
Color ideas
- Traditional: all red, or alternating red and cream
- Scandinavian: cream with a little natural twine
- Muted: dusty pink and sage, to suit neutral decor
- Mixed scraps: a good way to use up leftover yarn. Keep one color in common, like cream, so it still looks planned
Other ways to use the bows
- Tie one to a wrapped gift in place of a bought bow
- Clip them to tree branches with a small peg
- Sew one to a stocking or a hat
- Put a single bow in each pocket of a crochet advent calendar
For more decorating ideas, see our Christmas ornament patterns or the cone Christmas tree.
Frequently asked questions
Can I make the bows bigger?
Yes. Make the chain longer and add more rows, keeping the same shape: about one and a half times as wide as it is tall. Thicker yarn makes a bigger bow too, without changing the pattern.
How do I keep the bows from curling?
Single crochet in acrylic can curl slightly at the edges. Dampen the bows, pat them flat, and let them dry on a towel. Our blocking guide covers this in more detail.
Can a beginner make this?
Yes. If you can chain and single crochet, you can make every part of it.
How do I store the garland?
Wind it loosely around a piece of card, with the bows facing outward, so that they don't get crushed. Keep it in a dry box from one year to the next.
Crochet Christmas Ornament Set – 10 Amigurumi Patterns – Digital crochet pattern (PDF)