Enfeite Espiral de Pinguim em Crochê – Receita Natalina Gratuita
Um pinguim alegre com gorro e cachecol azuis, em um saca-rolhas azul-real salpicado de flocos de neve brancos bordados.
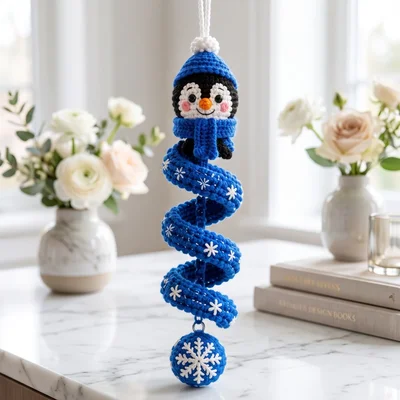
Se a sua árvore precisa de algo um pouco diferente do vermelho e verde, esta receita gratuita de enfeite de pinguim em crochê traz um azul-real elegante e um branco nítido. O pequeno pinguim usa um gorro com pompom e um cachecol combinando, e a espiral abaixo é salpicada com flocos de neve bordados à mão. Também é uma linda decoração de inverno, podendo ficar pendurada muito tempo depois que o resto do conjunto de espirais de Natal voltar para a caixa.
Resumo da receita
- Nível de habilidade: Iniciante a iniciante confiante
- Comprimento final: cerca de 20-28 cm (8-11 pol), dependendo da parte de cima e da espiral
- Agulha de crochê: 3.0-3.5 mm
- Fio: algodão ou acrílico DK ou light worsted
- Cores: preto, branco, azul-real e laranja
- Termos: termos de crochê dos EUA
Materiais
- Pequenas quantidades de fio DK ou light worsted nas cores preto, branco, azul-real e laranja
- Agulha de crochê de 3.0-3.5 mm
- Agulha de tapeçaria, tesoura e um marcador de ponto
- Enchimento (fibra siliconada)
- Opcional: olhos com trava de segurança de 6-8 mm ou linha de bordado, sininhos ou miçangas
Abreviações
MR = anel mágico • ch = correntinha • sl st = ponto baixíssimo • sc = ponto baixo • hdc = meio ponto alto • dc = ponto alto • inc = 2 sc no mesmo ponto • dec = diminuição invisível • FO = arrematar • st/sts = ponto/pontos
Estreante em instruções escritas? Nosso guia sobre como ler uma receita de crochê explica os colchetes e as repetições. Precisa relembrar a técnica? Veja como fazer um anel mágico em crochê, a diminuição invisível e como fazer uma espiral em crochê.
As peças que você vai fazer
Cada enfeite tem três partes: a parte de cima do enfeite, uma espiral e um pingente na parte inferior. Faça-as separadamente em crochê, arremate as pontas e depois costure tudo.
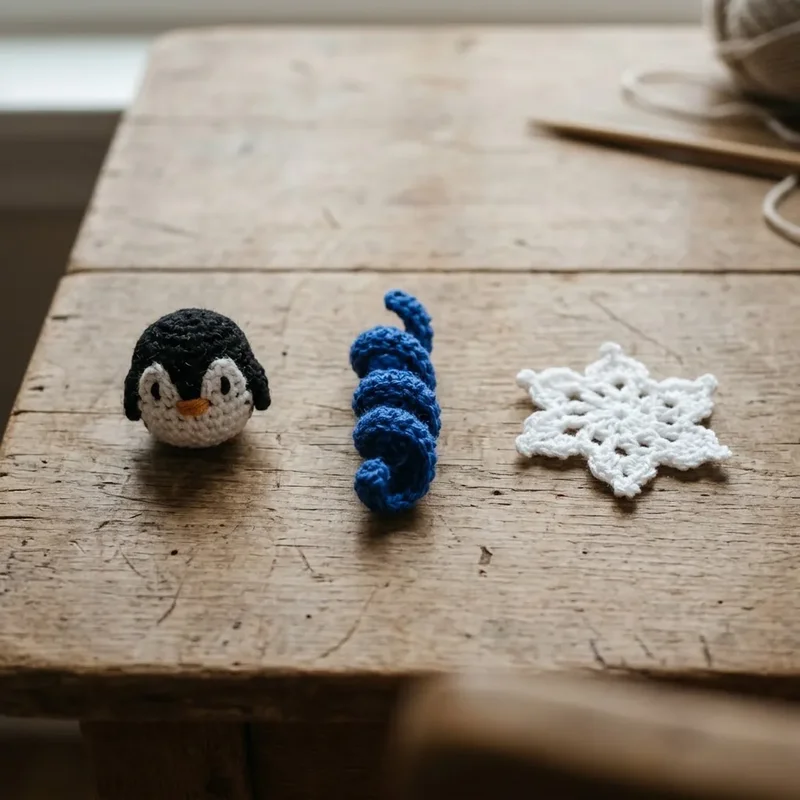
Passo 1: Faça a parte de cima do pinguim
Cabeça de amigurumi básica (preto)
- Carreira 1: MR, 6 sc. [6]
- Carreira 2: Inc ao redor. [12]
- Carreira 3: (Sc, inc) x6. [18]
- Carreira 4: (2 sc, inc) x6. [24]
- Carreira 5: (3 sc, inc) x6. [30]
- Carreiras 6-9: Sc ao redor. [30]
- Carreira 10: (3 sc, dec) x6. [24]
- Carreira 11: (2 sc, dec) x6. [18] Encha firmemente, mas não excessivamente.
- Carreira 12: (Sc, dec) x6. [12]
- Carreira 13: Dec ao redor. [6] FO e feche.
Coloque olhos bordados ou com trava de segurança entre as Carreiras 7 e 8, com cerca de 6 pontos de distância. Geralmente é mais fácil adicionar o nariz ou a boca antes de fechar a cabeça.
Remendos do rosto (branco, faça 2)
MR, 6 sc, depois inc ao redor para 12 sts. FO. Achate ambos os remendos e sobreponha-os levemente no rosto.
Bico (laranja)
Ch 3. Sc no 2º ch a contar da agulha de crochê, hdc no próximo ch. FO e costure no centro do rosto.
Gorro (azul-real)
- Carreira 1: MR, 6 sc. [6]
- Carreira 2: Inc ao redor. [12]
- Carreira 3: (Sc, inc) x6. [18]
- Carreiras 4-6: Sc ao redor. [18]
FO e adicione um pequeno pompom branco em cima.
Cachecol (azul-real)
Ch 36, faça hdc por toda a extensão e FO.
Step 2: Crochet the royal blue spiral
This is what creates the corkscrew. The counts make a medium ornament; use fewer or more chains for a shorter or longer one.
Foundation: in royal blue, ch 48 loosely. Leave a 15 cm (6 in) tail if you plan to sew the topper directly to the spiral.
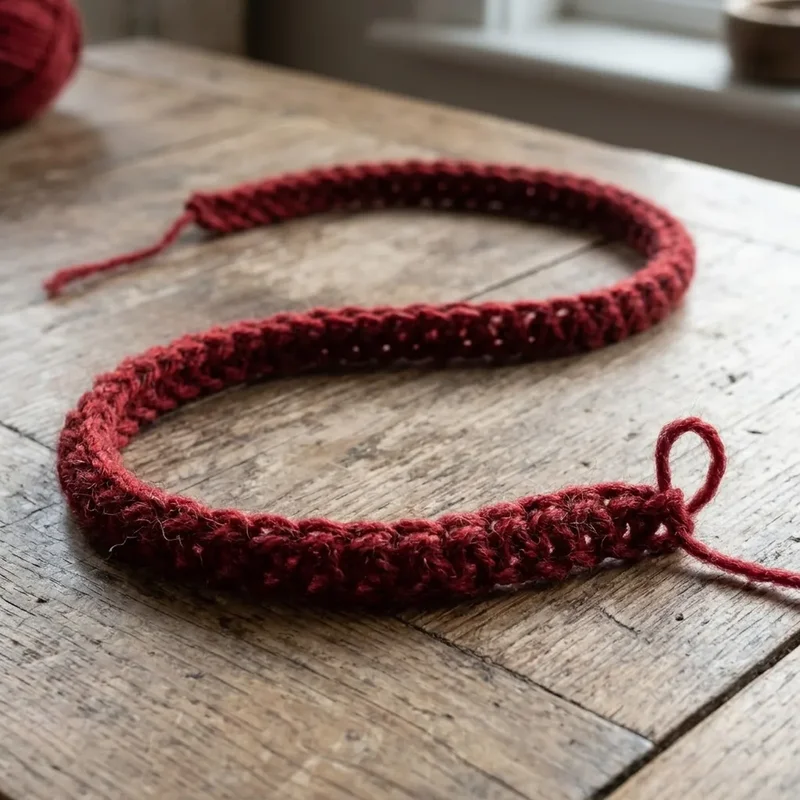
Curl row: starting in the 2nd ch from the hook, work 3 hdc in each ch across. The strip curls naturally as you go. FO and leave a sewing tail.
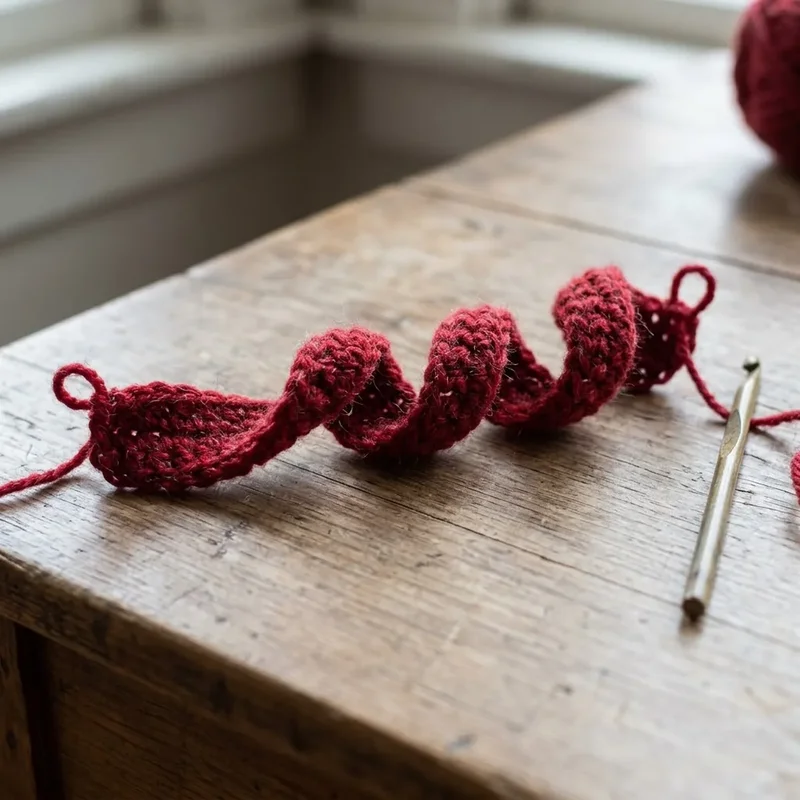
Shape: hold the top and bottom and gently rotate the strip so the loops form an even corkscrew. Do not stretch it flat.
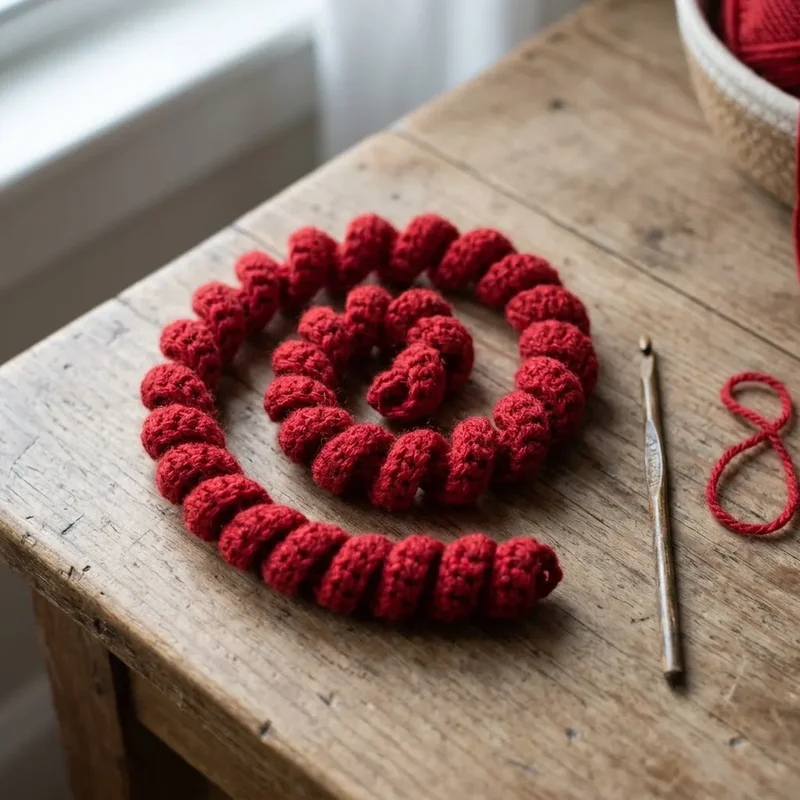
Embroider small white snowflakes every 1-2 curls.
Step 3: Crochet the snowflake charm
- With white, make a magic ring.
- *Ch 5, sl st in 2nd ch, ch 3, sl st in same ch, sl st down the remaining chains, sl st in MR.* Repeat 6 times in total.
- FO, pull the ring closed and weave in the end.
Step 4: Assemble the ornament
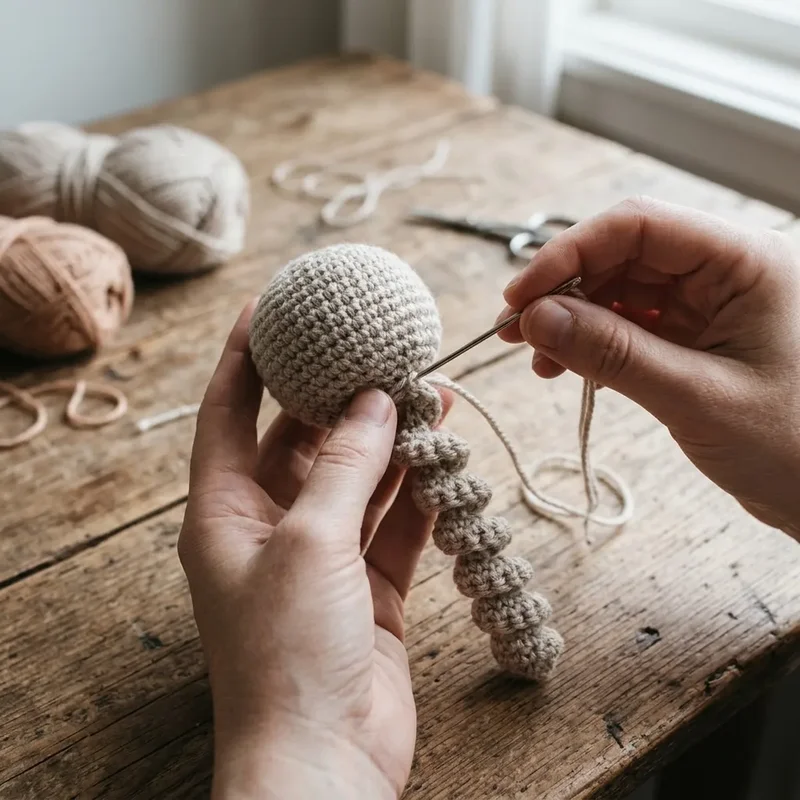
Build the face first, then add the hat and scarf. Sew the head to the spiral, attach the snowflake at the bottom and finish with a white hanger at the top.
Hanger: ch 22, sl st to the first ch to make a loop and FO. Sew the loop securely to the top. Sew the charm on with several tight passes, then weave the tail inside it.
Finishing check
- Hanger is secure
- Ends are woven in
- Face is centered
- Spiral hangs freely
- Bottom charm does not twist the ornament
- Loose beads are avoided for child- and pet-safe use
Troubleshooting
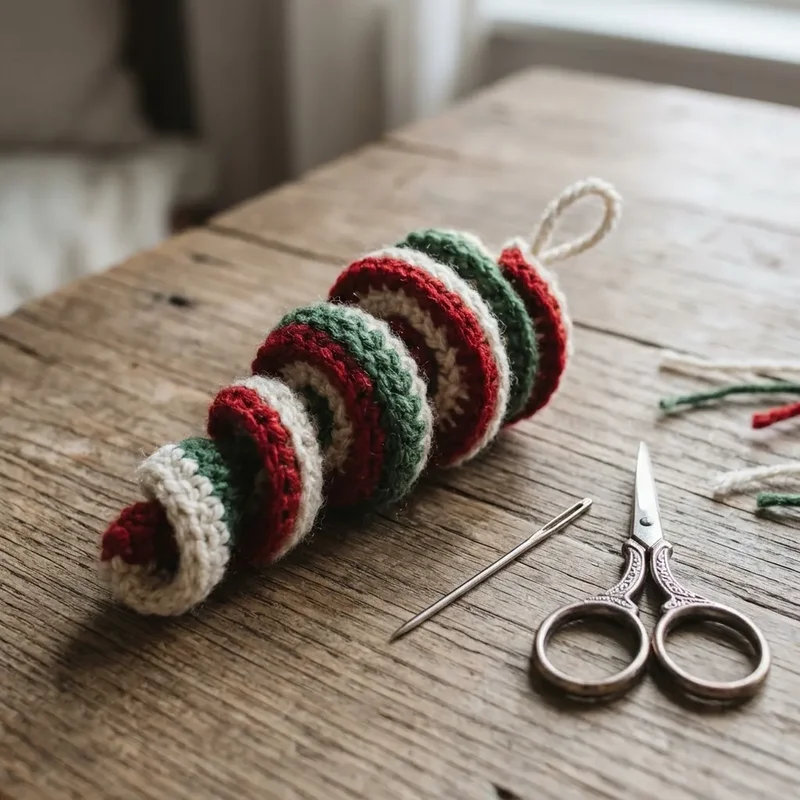
- Spiral looks too loose: use a smaller hook, or keep 3 hdc in each chain with slightly firmer tension.
- Spiral is too tight: use a larger hook or fewer stitches in each chain (2 hdc), or gently steam-shape synthetic yarn from a safe distance.
- Charm twists: attach it through the center of the final curl instead of the outer edge.
- Ornament is too long: reduce the foundation chain from 48 to 36-42.
- Face looks uneven: pin all the facial pieces first, check from the front, then sew.
- Head tilts forward: add two extra sewing passes from the back of the head into the top curl.
Make it yours
- Swap the blue for red or teal to match your tree
- Add a tiny pair of embroidered eyelashes
- Make the snowflake on its own as a quick gift topper
Frequently asked questions
What is the easiest way to embroider the snowflakes?
Sew three straight stitches crossing at the center, then repeat every curl or two. White yarn split in half gives a finer line.
Should the penguin have safety eyes?
Either works, but embroidered eyes are the safer choice if the ornament will hang near small children or pets.
Can I sell the ornaments I make from this pattern?
Yes, you are welcome to sell finished ornaments. Please do not redistribute or resell the pattern itself.
Mais enfeites de Natal em espiral
- Veja todas as 10 receitas gratuitas de enfeites de Natal em espiral de crochê
- Enfeite em espiral de rena
- Enfeite em espiral de Papai Noel
- Como fazer um enfeite de Natal em crochê
- Prefere enfeites clássicos cheios em vez de espirais? Veja o Conjunto de Enfeites de Natal em Crochê: 10 receitas de amigurumi (PDF pago)